Configure the specific data sources inventory tasks
The default inventory template collects WSUS and managed computer information from your managed systems. However, it does not collect file, folder, or Registry information as part of the inventory.
To collect this information, customize the inventory templates using the File, Directory, and Datasource Configuration tab in the Inventory Configuration Editor.
- In the navigation pane, select the targeted computer group.
For example, you can maximize Enterprise > Microsoft Windows Network and select a computer group.
-
In the center pane, select the computer you want to inventory.
Press <Ctrl> or <Shift> to select multiple computers.
- In the Actions pane, click Inventory.
- In the Inventory Options dialog box, select Inventory - include specific datasources.
- In the Options box, select Create a custom inventory configuration template to configure a new template for the inventory task, and click OK.
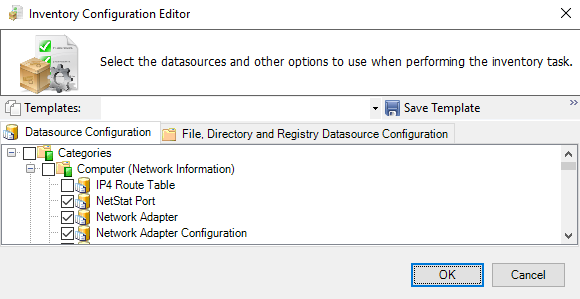
- In the Inventory Configuration Editor, click the Datasource Configuration tab.
-
Select the Computer (Registry Information) checkbox to collect the required registry data.

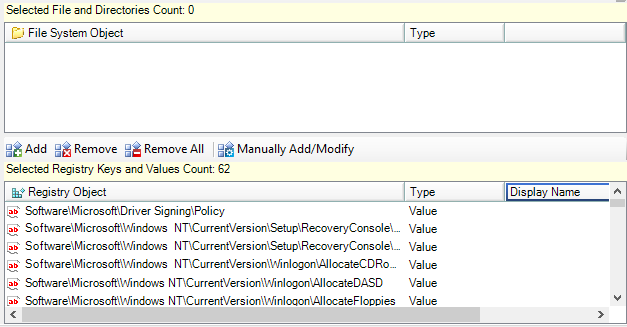
- In the Inventory Configuration Editor, click the File, Directory and Registry Datasource Configuration tab.

- In the center pane, select the file system objects or registry objects you want to add, and then click OK. You can also remove a Registry object.

Add a file system object
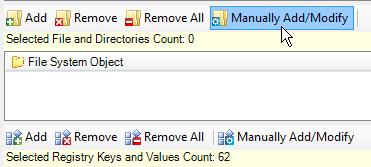
- Click Manually Add/Modify above the File System Object table.

- In the Add/Modify File or Directory dialog box, select File or Directory.

-
In the Fully Qualified Path field, enter the path for the file or folder.
This field does not support Universal Naming Convention (UNC) paths, but it does support environment variables such as
%PROGRAMFILES%. -
Click Save.
Patch Manager saves the inventory configuration associated with the specified path (such as the domain or workgroup).
Add a Registry object
- Select a registry object in the Registry Object table.
For example:
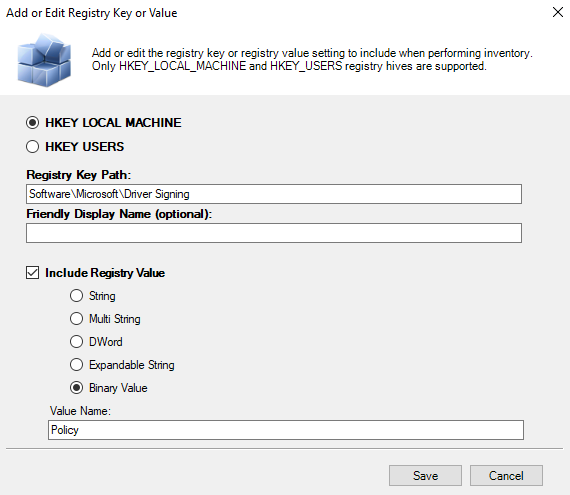
Software\Microsoft\Driver Signing\Policy
- Click Manually Add/Modify above the Selected Registry keys and Values Count table.

- Complete the options and fields in the Add or Edit Registry Key or Value dialog box.

- Click Save.
Patch Manager saves the inventory configuration associated with the selected manage scope (such as the domain or workgroup).
- Repeat step 1 through step 4 for each additional file system object you want to add.
Remove a Registry object
If you no longer require a registry object, select the object in the File System Object or Registry Object table and click Delete.
