Create recordings in the Web Transaction Recorder
After creating recordings, you can play, edit, and save recordings before assigning them to transaction locations. You can also create recordings for use as Transaction Checks in Pingdom.
For "best practice" tips, see Manage WPM recordings.
To create a recording:
- Open the Web Transaction Recorder via the Windows Start menu.
- Click Start.
- Type
WPM. - Click WPM Recorder.
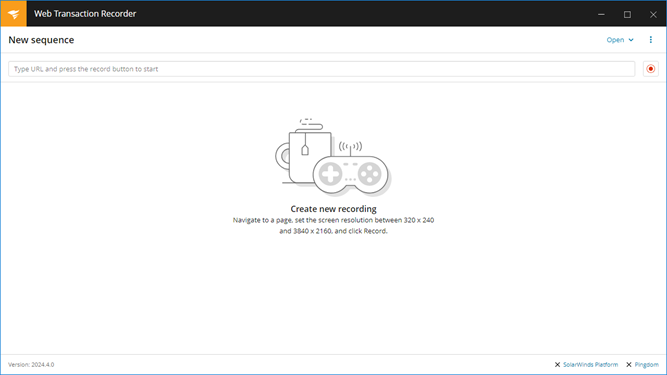
When the recorder opens, links at the bottom of the window indicate if it's configured for the SolarWinds Platform server or Pingdom.
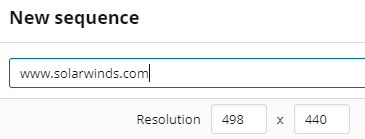
- Enter the URL of the website where you want to record steps.
- (Optional) Enter values to set the resolution used for the recording.
- Click Start recording (
 ). Notice that the work area splits into two panes:
- The left pane shows the browser area where you perform actions that you want to capture, as surrounded by a red border.
- The Recorded Steps pane shows steps that are captured in the recording, along individual actions that are part of each step.
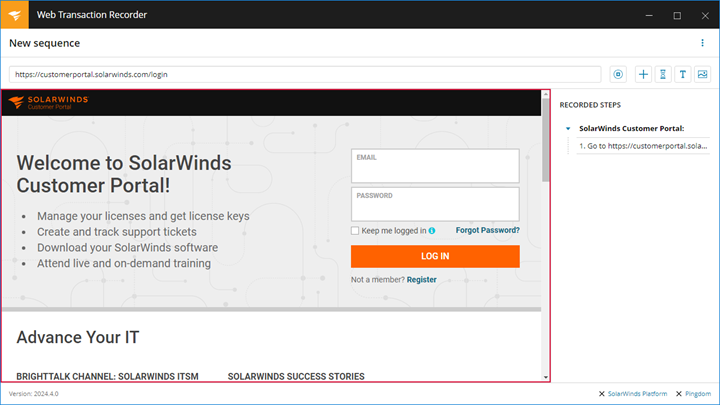
- Perform the tasks you want to include in the recording. As you work, the Recorded Steps pane displays details about each step and the individual actions involved in each step.
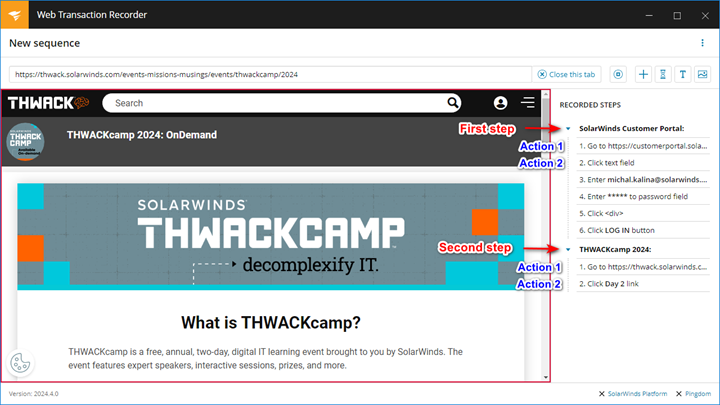
- (Optional) Use the toolbar icons to stop recording or access tools such as Image Match.
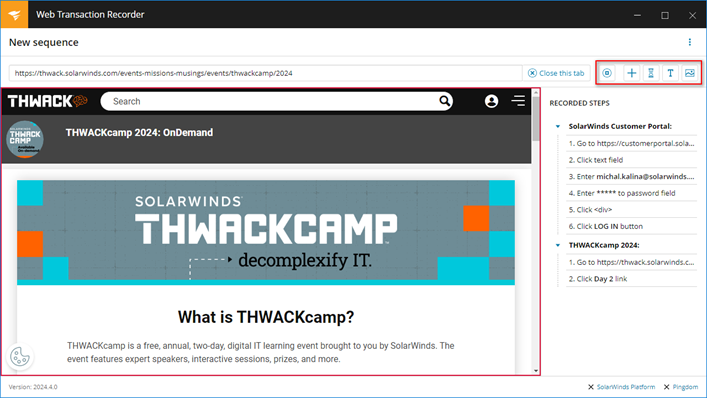
This table describes the different tools that are available, based on your current activity.Tool Description Stop

After you stop recording, you can:
- Click Start recording (
 ) to capture more steps.
 - Click New to discard the current recording and start a new one.
- Click Save to add the recording to the SolarWinds Platform server, Pingdom, or local drive.
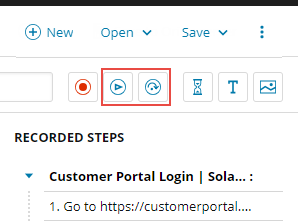
- Click Play recording (
 ) to play the recording from start to finish.
 - Click Play action-by-action (
 ) to play the recording one step at a time.
X, Y Capture mode

Track coordinate clicks during a recording. X, Y Capture mode is typically used with: - Image Match (for example, to verify that expected content loads)
- Text validation (to verify that specific text appears on a page)
Add wait time

Insert an artificial pause in a sequence. For example, add wait time if complex page elements require extra time to load. See Add wait time. Add text validation

Verify that specific text appears after the content of a web application loads; for example, "Login successful." See Use text validation. Add image validation

Verify that an image appeared on a page. See Use Image Match. - Click Start recording (
- When finished recording, click Stop
 .
.WPM plays the recording and highlights its progress, row by row, in the Recorded Steps pane.
- (Optional) If you forgot a step, click Start recording
 to add it after the recorder plays back what you've done so far.
Tip: To capture individual mouse hovering movements as actions in a recording, click Ctrl + ~. This can be useful for websites that include drop-down menus.
Play recordings
When you complete a recording, you can play it back from start to finish, or step-by-step.
- Click Play recording
 to play back a recording from start to finish, or
 - Click Play action by action
 to play back a recording, one step at a time. Continue clicking the button until you execute all actions in the recording sequence.
During a successful playback, WPM tracks how long it takes each step to run. The time is displayed next to each step and can be used later to calculate typical timings for the recording.
Save recordings
If the system hosting the recorder is connected to the SolarWinds Platform server, you can save recordings directly to the SolarWinds Platform server or save them to your local drive. You can also save recordings to Pingdom.
To save a recording to the SolarWinds Platform server:
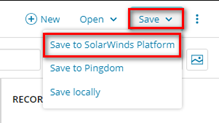
- Click Save > Save to SolarWinds Platform server.
- When the following dialog box appears, click Calculate if you plan to create WPM transaction monitors based on the recording later. WPM will save duration times for each step and use them to calculate thresholds later.

- Provide a name and description for the recording.
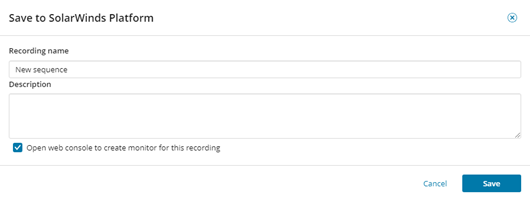
- (Optional) Select the "Open web console to create monitor for this recording" check box to open the Add Transaction page in the SolarWinds Platform Web Console after saving the recording. See Create WPM transactions.
- Click Save.
After saving a recording, you can add steps, actions, wait times, and more. See Edit recordings in the Web Transaction Recorder. When finished, assign the recording to one or more transaction locations (that is, remote systems that host WPM Players).
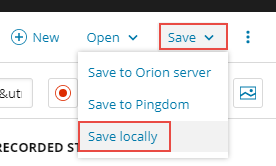
To save a recording to the local drive:
- Click Save > Save locally.
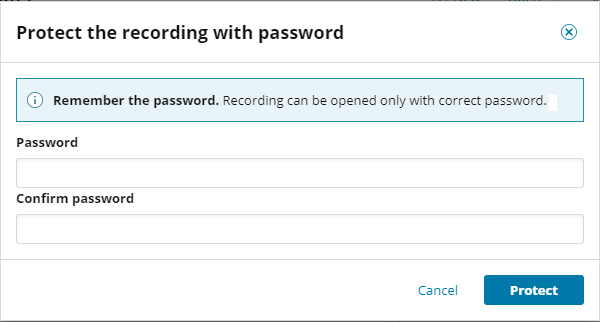
- Specify a password for the recording.
To save a recording for use as a Transaction Check in Pingdom:
- Click Save > Save to Pingdom.
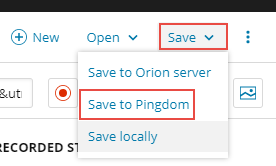
If a Pingdom option doesn't appear, you may need to apply a Pingdom API token to the recorder. See the WPM Getting Started Guide for details.
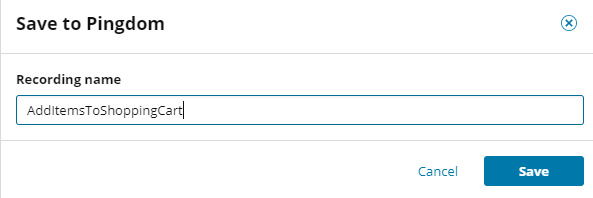
- Provide a name for the recording, and then click Save.
- Click Save.
