Create or edit a scope on a DHCP server
This topic includes the following sections:
A scope is a consecutive range of IP addresses that a DHCP server can draw on to fulfill an IP address request from a DHCP client. By defining one or more scopes on your DHCP server, the server can manage the distribution and assignment of IP addresses to DHCP clients.
Create a scope on a DHCP server in a non-shared network
- Go to My Dashboards > IP Addresses > DHCP & DNS Management.
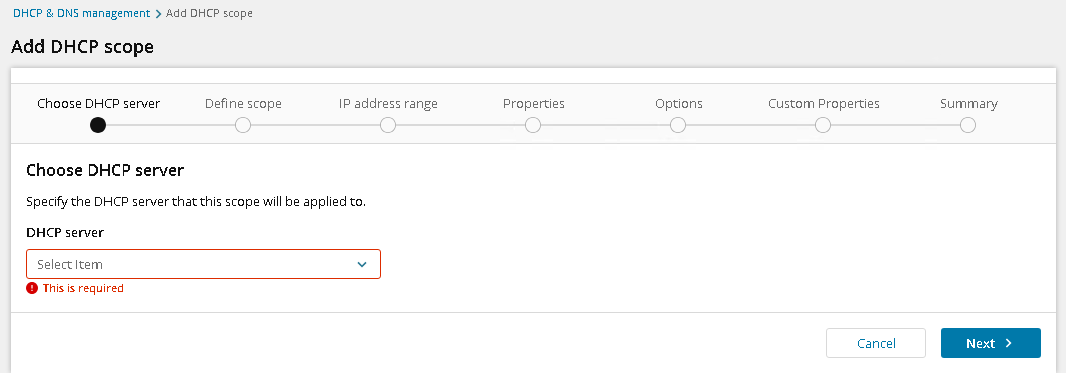
- Select the DHCP scope tab and click Add. The Add DHCP Scope page is displayed.
-
Choose the DHCP server where you want to apply the scope. Click Next.
-
On the Define Scope tab, enter the scope name, description, VLAN ID (Optional), and Location (optional). Click Next.
-
On the IP address range tab:
-
Enter the subnet address.
-
Click Add Exclusion to add any applicable exclusions. Enter the starting and ending ip addresses, then click Save.
-
Adjust the CIDR if applicable.
-
Click Next.
-
-
On the Options tab add any applicable scope options:
-
Click Add option to open the Add DHCP options window.

-
Select and configure the desired scope option.
-
Click save to save your scope option configuration.
-
Repeat the steps above as necessary for additional scope options.
-
Click Next.
-
-
On the Custom Properties tab, Click Manage custom properties to open Custom Properties. Click Next. See Custom Properties for information about custom properties.
-
Review your DHCP scope settings on the Summary tab. Click Add Scope.
Create a scope on a DHCP server in a Shared Network
- Go to My Dashboards > IP Addresses > DHCP & DNS Management.
- Select the DHCP scope tab and click Add. The Add DHCP Scope page is displayed.
-
Choose the DHCP server where you want to apply the scope. Click Next.
-
On the Define Scope tab:
-
Select whether to use a shared network (optional).
-
Enter the subnet address and adjust the CIDR.
-
Select whether to automatically add discovered IP addresses to this subnet.
-
Enter a scope description (optional), VLAN ID (optional), and Location (optional).
-
Click Next.
-
-
On the IP address range tab add pools and IP address ranges you want to include:
-
Click Add pool. Add a starting IP address and Ending Ip address. Click Save.
-
Click Add range. Add a starting IP address and Ending Ip address. Click Save.
-
Click Next.
-
-
On the Properties tab, specify a time period or set the lease time to unlimited for the Default lease time, Minimum lease time, and Maximum lease time. Click Next.
-
On the Options tab add any applicable scope options:
-
Click Add option to open the Add DHCP options window.
-
Select and configure the desired scope option.
-
Click save to save your scope option configuration.
-
Repeat the steps above as necessary for additional scope options.
-
Click Next.
-
-
On the Custom Properties tab, Click Manage custom properties to open Custom Properties. Click Next. See Custom Properties for information about custom properties.
-
Review your DHCP scope settings on the Summary tab. Click Add Scope.
Create a scope on a DHCP server (Legacy Wizard)
Note: The following directions apply to the Legacy DHCP scope wizard.
- Go to My Dashboards > IP Addresses > DHCP & DNS Management.
- Select the DHCP scope tab, and click Add.
- On the Defining Scope tab, enter the scope name, description, and other information, and click Next.
- On the IP Address Range tab, enter the start and end IP addresses for the scope.
- If you need to exclude any IP addresses from this range:
- Click Add Exclusion.
- Enter the start and end IP addresses for the exclusion range, and click Save.
- Click Next.
- On the Define Scope Properties tab, click Next unless you need to amend the default DHCP Offer Delay period.
- On the Scope Option, advanced users can add or edit DHCP Scope Options. Click Next.
For more information, see Define scope options on a DHCP server.
- Review the settings you have entered and click Create Scope to continue.
If you are using the legacy version of this page, select the DHCP Server tab, click Add New and select DHCP Scope.
The Add DHCP Scope page is displayed.

Edit a scope on a DHCP server (Legacy Wizard)
Note: The following directions apply to the Legacy DHCP scope wizard.
- Go to My Dashboards > IP Addresses > DHCP & DNS Management.
- Select the DHCP Scopes tab.
If you are using the legacy version, select DHCP Servers, and expand the Server containing the scope.
- Select the checkbox for the required scope and click Edit.
- Edit the contents of each tab of the Edit DHCP page as required.
- On the Review tab, click Update Scope.