Install the Serv-U File Server
Serv-U installation files and licenses are now available in the Customer Portal. Refer to Serv-U licenses now available in Customer Portal for steps to access this information.
SolarWinds strongly recommends that you install Serv-U File Server on a server that is protected from unauthorized access by the public. If your use of Serv-U File Server does not need to be public or internet-facing, install it on a server that is neither public, nor internet-facing. To learn about best practices for configuring your Serv-U File Server installation securely, see Best practices to secure SolarWinds Products.
For instructions for installing Serv-U on a Linux server, see the Install Serv-U on Linux knowledge base article.
If you are installing Serv-U for the first time, follow the instructions on the installation screens to choose the installation directory and to configure desktop shortcuts for quickly accessing the server.
During a fresh installation of Serv-U, the Server Identity attribute used in the encryption of client data is automatically created. If a server definition is detected, a pop-up message is displayed to say you need to either create a new server identity or import an existing server identity. Exporting an existing server identity enables you to migrate a server instance or create multiple instances in a multi-tier server set up (for example, for load balancing). For further information see Creating, exporting, and importing the server identity.
- Run the installation file from the download folder, and follow the prompts.
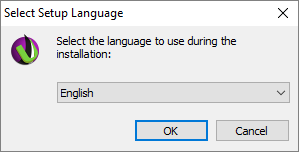
- Select the language of the installation.
Serv-U supports installation in English, German, Spanish, French, Italian, Serbian, Swedish, Russian, Japanese, Simplified Chinese, and Traditional Chinese. At this point you are selecting only the default language for the Management Console. When users connect to Serv-U, they can select any language from the list of supported languages.
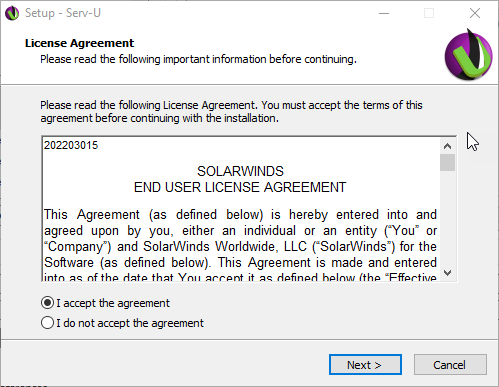
- Review the license agreement, and if you agree, accept it and click Next.
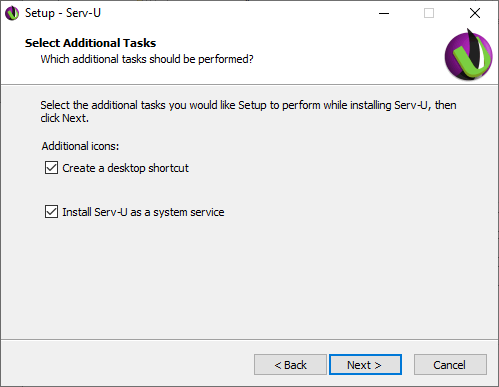
- Select whether to add the Serv-U icon to your desktop, and whether to install Serv-U as a system service, and click Next.
- Click Install.
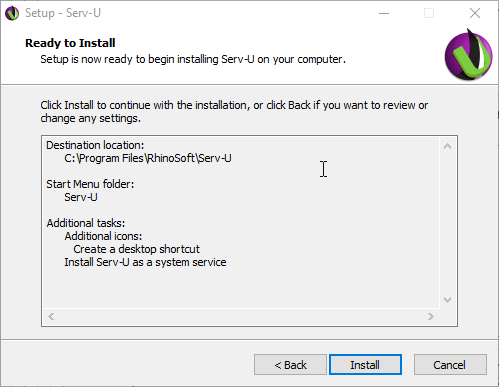
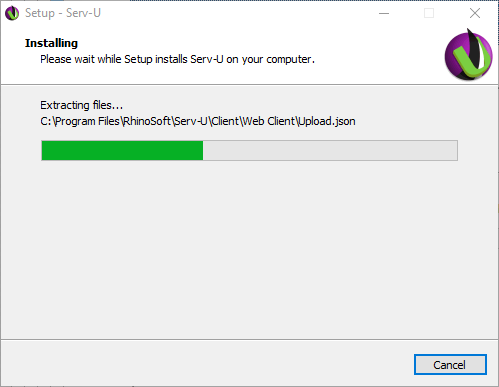
The installation now begins.
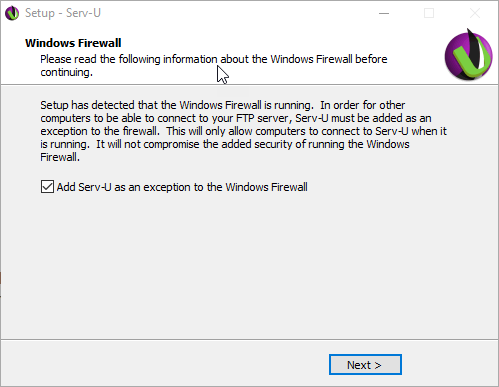
If the installation program detects a firewall, a Universal Plug and Play capable router, or similar, a screen such as the following is displayed. Check the appropriate checkbox or checkboxes to allow Serv-U to continue.
-
Uncheck the Start the Serv-U Management Console checkbox if you do not want to launch Serv-U immediately, and click Finish.
You can launch it later by double-clicking the Serv-U icon in the system tray, or by right-clicking the Serv-U icon and selecting Start Management Console.

The Management Console is displayed.
You are prompted to set up your first domain using the Domain Wizard. See Create a Serv-U domain.

If you selected to install Serv-U as a system service in Step 4, Serv-U is automatically started when the server is started, before any users log in to the system. This is useful if Serv-U is running on a dedicated server that does not regularly have an interactive user session logged in to it.
If Serv-U is not installed as a system service, it has to be manually started after you log in to the server.
