Serv-U file sharing: The Send file wizard
The Send file wizard enables you to simplify the process of distributing files by creating a File Share. This lets you create a link which can be sent to one or multiple recipients which they can click on to download one or more specific files. The link can be emailed to the recipients automatically, and you can include sender details.
When you set up a file share you can also add a optional password, and expiration date for the link.
When your recipients receive the link, they can simply need to click on it (assuming the link has not expired), enter the password if required, and then download the filed.
As files are downloaded, Serv-U refreshes the Sent page. Depending on your settings, you'll be notified when downloads are finished.
You can also create anonymous shares, where you do not have to specify the email addresses for the file share. When creating anonymous shares, only a link is generated that you can then send out manually.
To create a file share:
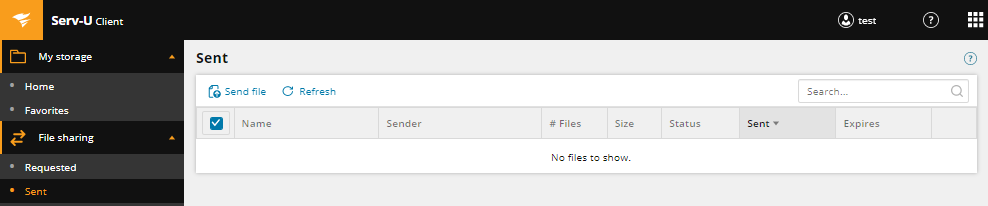
- Navigate to the File Sharing - Sent page.
- Click Send File.
- The Send file window is displayed.

- Enter a meaningful title and description for the file share.
- Click Advanced Settings to access additional optional settings for the file share.
- In the Expiration field, select a date and time at which this link will be disabled.
- In the Password field, select to enter or generate a password for this file share.
- Select the check box to include the password in the email that will be sent to recipients.

- Click Next to continue.

- Enter the email addresses of the recipients for this file share, separated by commas. Leave this field blank if you do not want to distribute the link by email.
- Check the Notify me... box if you want to be emailed when the file is downloaded by the guest.
- Check the Send me... box if you want to receive a copy of the email being sent to the recipients.
- Click Next to continue.
- Add files to the list either by dragging and dropping them from other File Explorer applications or by clicking Browse and navigating to the required files. As each file is added, it is listed along with its size.

- Click Finish.