Deploy SEM from PowerShell (Windows)
PowerShell is a command-line interface that is installed by default on the latest Microsoft systems. See Windows PowerShell System Requirements for details (© Microsoft 2023, available at learn.microsoft.com, retrieved on March 20, 2023).
Lines starting with the # character are comments. The back quote (`) character on the end of lines indicates multi-line commands.
-
Open a command prompt or PowerShell window.
- From a command line, run the az login command.
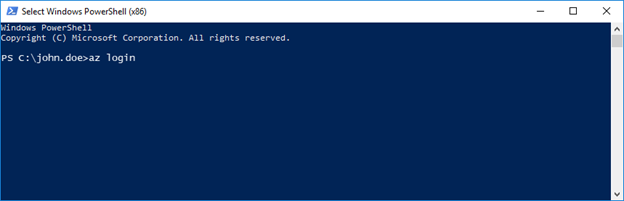
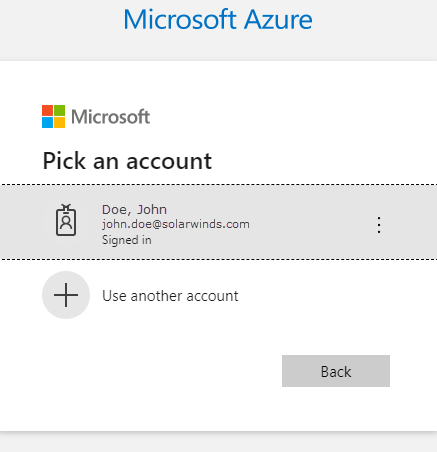
Log in with any authentication option. Running the az login command is recommended. For more details and other options, see Sign in with Azure CLI 2.0 (© Microsoft 2022, available at learn.microsoft.com, retrieved March 25, 2022).
- When the browser launches prompting you to log in, sign in to Microsoft Azure with your account credentials.
-
Create your script.
The script will run, upload your two VHD files, and then create your VM in the Azure Portal. You can also download the script from SolarWinds using this link.
The following script is a template. You will need to fill in the variables for your Azure VM environment.
- Launch PowerShell.
Change the directory (cd) in PowerShell to the directory where the VHD files reside on your local system.

- Paste your script into PowerShell, and then press Enter.
You can monitor the progress as the script is running. If the script encounters an error (such as a typo in your script), correct the error, and rerun the script.
When completed, you can access your new VM in the Azure Portal under Home > Virtual machines.
<#Scripts are not supported under any SolarWinds support program or service. Scripts are provided
AS IS without warranty of any kind. SolarWinds further disclaims all warranties including,
without limitation, any implied warranties of merchantability or of fitness for a particular purpose.
The risk arising out of the use or performance of the scripts and documentation stays with you.
In no event shall SolarWinds or anyone else involved in the creation, production,
or delivery of the scripts be liable for any damages whatsoever(including, without limitation,
damages for loss of business profits, business interruption, loss of business information, or other
pecuniary loss) arising out of the use of or inability to use the scripts or documentation
#>
# How to use:
# copy script to folder that contains azure disks
# change <SEM_VERSION>, <STORAGE_ACCOUNT>, <STORAGE_ACCESS_KEY>, <RESOURCE_GROUP>, <VM_LOCATION>, <CONTAINER>
# log in to azure (az login)
# run script
#
############################################

# storage account and key set to ENV to avoid typing it to each command
$env:AZURE_STORAGE_ACCOUNT="<STORAGE_ACCOUNT>"
$env:AZURE_STORAGE_KEY="<STORAGE_ACCESS_KEY>"

$container="<CONTAINER>"
$semVersion="<SEM_VERSION>"

Write-Host "SEM version: $semVersion" -foreground Green

$vmName="SEM-$semVersion"
$resourceGroup="<RESOURCE_GROUP>"
$sku="Standard_LRS"
$publicIpSku="Basic"
$vmSize="Standard_B1s"
$vmLocation="<VM_LOCATION>"
$osType="linux"

$disk1Filename="SolarWinds-SEM-Azure-$semVersion-disk1-system.vhd"
$disk2Filename="SolarWinds-SEM-Azure-$semVersion-disk2-data.vhd"

$disk1Name="$vmName-disk1.vhd"
$disk2Name="$vmName-disk2.vhd"

# check for presence of files
if (!((Test-Path $disk1Filename) -and (Test-Path $disk2Filename)))
{Write-Host "Couldn't find .vhd files" -foreground Red; break}

# upload system and data disks
az storage blob upload --container-name $container --type page --file $disk1Filename --name $disk1Name
az storage blob upload --container-name $container --type page --file $disk2Filename --name $disk2Name

# get blob urls
$blobUrlDisk1=az storage blob url --container-name $container --name $disk1Name
$blobUrlDisk2=az storage blob url --container-name $container --name $disk2Name

# create system and data disks
az disk create --resource-group $resourceGroup --sku $sku --name $disk1Name --source $blobUrlDisk1
az disk create --resource-group $resourceGroup --size-gb "250" --sku $sku --name $disk2Name --source $blobUrlDisk2

# create a machine and enable boot diagnostics
az vm create --resource-group $resourceGroup --size $vmSize --public-ip-sku $publicIpSku --location $vmLocation
 --name $vmName --os-type $osType --attach-os-disk $disk1Name
az vm disk attach -g $resourceGroup --vm-name $vmName --name $disk2Name

az vm boot-diagnostics enable --name $vmName --resource-group $resourceGroup --storage $env:AZURE_STORAGE_ACCOUNT