Create a new rule
-
Log in to the SEM Console.
- On the toolbar, click the Rules tab.
-
On the Rules toolbar, click Create new rule.

The Create new rule screen displays in the console. The left column displays several categories you can add to a rule, including:
-
Time Groups (also known as Time of Day Groups)
-
Constants (such as boolean, date, number, and string)
-
Click a category drop-down menu and select an entity for the rule.
All Events entities listed in the left column include predefined contextual help. Click the information
 icon to view a description.
If you are not sure which entity to select, enter a search term in the Search field locate an entity and a corresponding field. All matches are highlighted in the events and field columns.

-
Select a corresponding field for the entity (if desired).
All event fields listed in the right column include predefined contextual help. Click the information
icon to view a description. 
- Drag the appropriate entity or entity field into the rule definition builder.
When you drag an entity or entity field into the rule builder, the correct drop location is shown with a blue line.
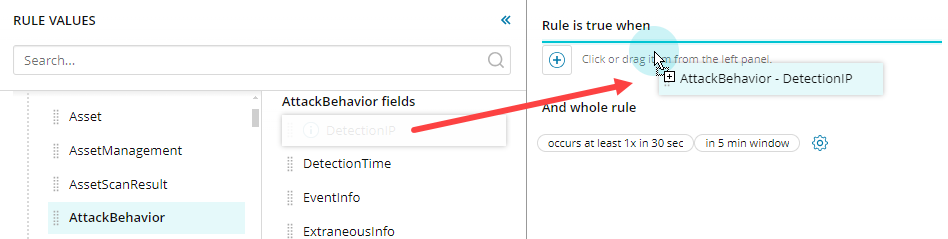
Dragging an entity or entity field to the right pane creates a condition. If it is an entity, by default the condition will be created showing that it occurred. For example:
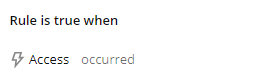
If required, click occurred to change the value to did not occur. If it is an entity field, by default the condition is created, showing that the field is equal to [blank].

Click is equal to to change to an alternative operator as required. Enter a value for the comparison, click to display the available value, or drag across another field as appropriate.
-
After you configure part of a rule, you can change it by moving the cursor over it to display the rule builder toolbar.

This enables you to:
- Apply occurrence settings for this part of the rule by clicking the
 icon
icon
- Edit the expression by clicking the
 icon
icon - Delete the expression by clicking the
 icon
icon -
Add an addition entity or entity field
by clicking the
 icon
icon
- Apply occurrence settings for this part of the rule by clicking the
-
To add subsequent rule parts, click the rule definition
icon, and then create the condition as shown above. -
From the drop-down list, select an option, enter a specific value or keyword directly.
To change an And operator, click And, and then select Or.

By default, the actions are triggered whenever the conditions that make up the rule are true. However, you can change this so that the rule has to be true multiple times. For more information, see Occurrence settings.
-
Click Next to display Details and actions.

- Under Details and actions, enter a rule name and optional description.
- Click the icon to select one or more optional tags for this rule.
Tags make it easier to catalog and find rules.
- Turn off the Click Enable rule after saving THIS option if you want to save a rule without adding an action. You can enable the rule afterwards from the Rules screen.
-
Turn on the Enable test mode option if you want to use this rule test mode. The rule will run but will not trigger any actions. This option allows you to view how the activated rule will behave without disrupting your network. You can Identify test mode rules in your list by the Test icon
 .
. -
Click Add new action to add an action when the rule triggers.

- Enter a search term or select an action from the list, and then click Next.
- Define the trigger action, and then click Add.
SEM provides over 30 actions that can be triggered using rules, ranging from Sending a pop-up message to Disabling Networking. For each the procedure is similar: select or enter the required parameters, and click Add.
You can add multiple actions to a rule by clicking Add new action.
-
Click Create when you have finished adding actions to this rule. The rule is now available in the list of rules.
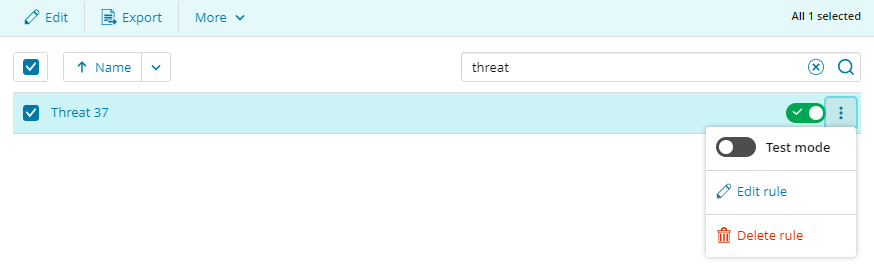
To edit, delete, and toggle test mode, click the vertical ellipsis next to a rule.