Edit a network config using a config change template
Config change templates save time and ensure that changes are consistently applied to devices.
Templates are often used to make bulk changes to multiple devices. SolarWinds recommends running a template on one device to test your changes and, when you verify your changes are successful, then apply the template to multiple devices.
The example in this section shows how to apply the login banner template for a Cisco router. Other commonly used templates include:
- Change passwords
- Change SNMP settings
- Enable Netflow
- Define ACLs
- Define VLAN memberships
Before you begin:
- Run an NCM inventory scan on a node: if you have just added a device, you must perform an NCM device inventory scan and update device inventories before you can create and run a config change template.
- Be sure that the config is backed up: SolarWinds recommends that you back up a config before you make a change so that you can revert to a previous version of the config if the change is not successful.
Execute the banner change template
This example uses a template to create a restricted access warning in the login banner.
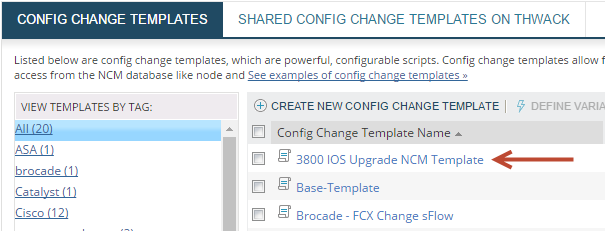
- Click My Dashboards > Network Configuration > Config Change Template.
-
Select the Change Login Banner template and click Define Variables & Run.

-
Select nodes and click Next.

-
In the Login Banner field, enter the banner text and click Next.

-
To preview the script, click Show commands in new window.

-
Verify the CLI commands and the banner text are correct in the script preview.

-
Click Execute.

-
To view a change, log in to the device. This is an example of the login banner change.

The Transfer Status tab shows the script execution status.

Verify config changes by comparing configs
After you change a login banner, you can log in to the device to verify the change. For more complex changes or changes across multiple configuration items, you can verify the change by viewing a report that compares the configs before and after the change. Because the config change report compares configs line by line, you can also use the report to troubleshoot issues.
The following example shows that a config was updated on August 4, and the report highlights the differences between the config before and after the change.
- Click My Dashboards > Network Configuration > Config Summary.
-
Navigate to the Last 5 Config Changes resource and note the date and time of the config change.
You can click Edit to change the number of configs listed in the resource.

-
To view changes, click the View Change Report link.

Edit multiple nodes
To make changes to multiple devices, select multiple nodes before you click Execute Script.
If you want to verify changes to multiple devices, review the Status/Details of the Transfer Status tab.

Import a config change template from THWACK
NCM ships with preconfigured templates you can use to make common changes to configs. You can also create your own change templates, or import change templates that other SolarWinds customers have created and posted to THWACK.
Creating a change template is not addressed in this guide. For information on creating a change template, see the SolarWinds Network Configuration Manager Administrator Guide.
Before you begin, create a THWACK account.
- Click My Dashboards > Network Configuration > Config Change Templates.
-
On the Config Change Templates page, click Shared Config Change Templates on THWACK.

NCM automatically connects with THWACK and populates the list with shared config change templates.
-
Select a template and click Import.

-
Enter your user name and password, and click Log In.

NCM imports the template and displays it in the list of config change templates. You can now execute the template against one or more nodes.
SolarWinds recommends running a template on one device to test your changes and, when you verify your changes are successful, then apply the template to multiple devices.

