Agent installation for Mac
On this page
Introduction
In SolarWinds Service Desk (SWSD) you can use the information in the following sections to install the Discovery Agent on a single Mac computer. After you complete the deployment and setup procedures on one computer, you can perform a mass deployment to install the agent on host devices throughout your organization.
SolarWinds doesn't push anything to the agent/scanner from our servers. The agent is designed to check for updates from the server.
When updates are available they get installed. On average, the agent is updated quarterly.
In addition, the SolarWinds Discovery Agent Watchdog Service keeps watch on the Solarwinds Discovery Agent Service, and restarts it if it stops for any reason.
Navigation
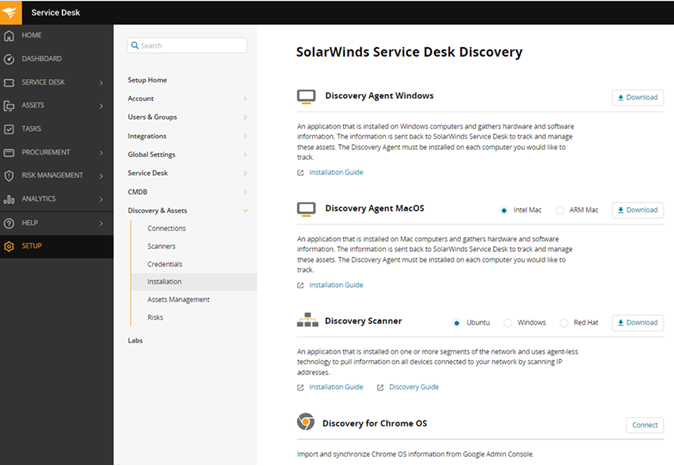
Setup > Discovery & Assets > Installation.
Prerequisites
Ensure that the following prerequisite requirements are met before installing.
Supported versions
macOS 10.6 and later versions
Firewall requirements
The following domains and ports must be allowed.
| Purpose | Destination IP | TCP/UDP | Destination Port | Protocol |
|---|---|---|---|---|
| Report asset data to the SWSD platform |
agt.samanage.com
+ agteu.samanage.com |
TCP | 443 | HTTPS |
| Obtain the external IP address for monitored devices | opendns.com | UDP | 53 | DNS |
Although the required firewall settings are only for outbound traffic (Destination IP and Port), when a session is initiated from inside the firewall, it allows incoming traffic because it knows it is a response to a legitimate request.
User privilege requirements
Administrator access is required to the machine where the agent is being installed.
Installation
The first step in the installation process is to download the Discovery Agent. After downloading, you have the following options for installing it on a single computer:
Download and run the agent setup for MacOS
- Navigate to Setup > Discovery & Assets > Installation.
-
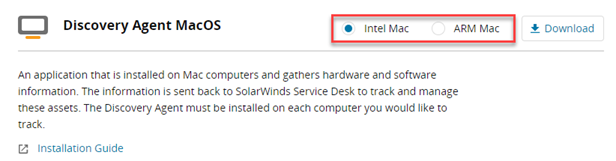
Next to Discovery Agent MacOS, select the processor relevant to you (Intel Mac or ARM Mac), and then click Download.
-
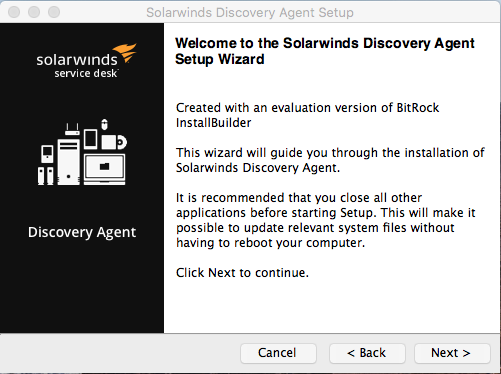
From the download, double-click SolarWinds_Discovery_Agent_[VERSION]_installer.dmg file to launch the installer.
-
At the Welcome screen, click Next to begin.
-
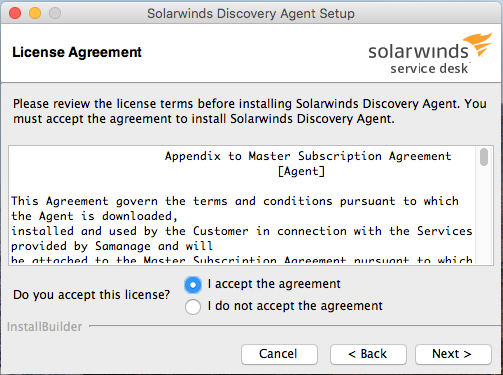
Select I accept the agreement, and then click Next.
-
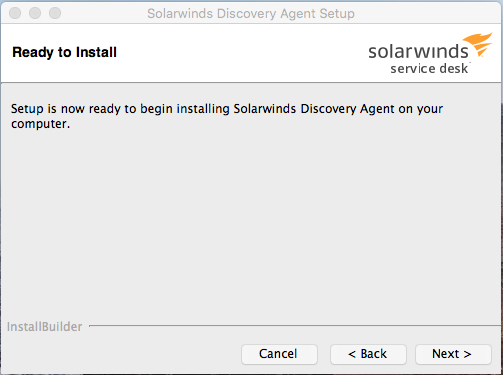
In the Ready to Install dialog, click Next.
-
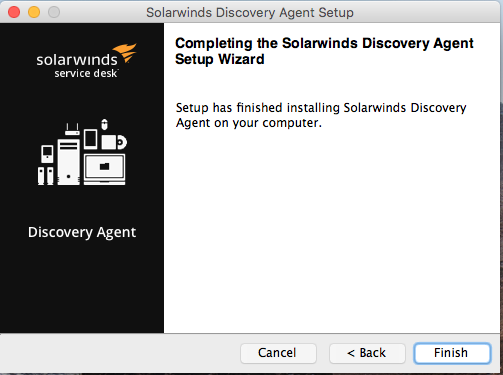
When prompted, click Finish to complete the installation.
When the installation is complete, the Discovery Agent runs an inventory scan for the first time. This may take several minutes to complete.
-
When the scan is completed, the installer displays an Install Succeeded message. Click Close.
The agent then begins reporting on the preconfigured parameters (that is, hardware, software, etc.). It may take a few moments for the information to display in your SWSD instance.
You can unmount the SolarWinds agent volume by clicking Eject or dragging the icon in to the trash.
Perform silent installation using a command line
To install the Discovery agent using a command line:
-
Open Terminal.
-
Navigate to /Volumes/SolarWinds Discovery Agent.
-
Execute the installation using the following command line arguments.
sudo ./Solarwinds_Discovery_Agent_#{installer_version}_osx_installer.app/Contents/MacOS/installbuilder.sh --mode unattended
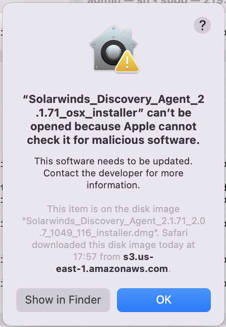
Error Message: Apple cannot check for malicious software
If you receive an error message stating that Apple cannot check for malicious software, follow the steps below.
-
Navigate to Setup > Discovery > Installation.
-
Download the new version of the MacOS Discovery Agent.
Troubleshooting
Add the following code before the installation line to let an installation be completed from any location.
-
For BigSur and below
: sudo spctl –master-disable
-
For Monterey:
sudo spctl --global-disable
Add the following code after the installation line to undo the previous action and let the installation be completed from only the Mac App Store and identified developers:
-
sudo spctl –master-enable(or--global-enable)
Uninstall the Discovery Agent
To uninstall, execute the following commands in the command line:
sudo /Applications/Solarwinds\ Discovery\ Agent.app/Contents/Resources/uninstaller.shForce an inventory refresh for the new Discovery Agent
After you enable the Discovery Agent, the agent inventory automatically updates every 24 hours. The agent runs as a Windows service and triggers a refresh based on that schedule.
To optimize for outbound bandwidth utilization, the agents randomize the next inventory refresh within a 24-hour time frame. This process prevents all agents from reporting at the same time.
Optionally, you can force the agent on a targeted machine to manually push an update. To push the update, open a Command Prompt window and run the following commands or copy the code into the prompt. If the prompt does not return an error message, the procedure completed successfully.
sudo /Applications/Solarwinds\ Discovery\ Agent.app/Contents/Resources/agent/ruby/bin/ruby /Applications/Solarwinds\ Discovery\ \Agent.app/Contents/Resources/agent/src/mini_kernel/cmd.rb -f