Create a new view
You can customize the SolarWinds Platform Web Console for individual users by creating views.
SolarWinds suggests creating a baseline view for a role group (such as network administrator). When you are finished, copy and assign the view to each role group using a unique name.
If you share a view between role groups and a group member changes the view, the changes will impact a similar role in another department that requires specific view content.
Before you create a new view, plan what should be in the view. The following table provides view options and actions on how to enable those options.
| Option | Action |
|---|---|
| Identify objects to see on the view. | Select the appropriate object type, such as nodes, interfaces, groups, applications, and so on. |
| View information for all objects of the selected object type. | Select a Summary view. |
| View details for a selected object. | Select a Details view. |
| Select information about the objects you want to see. | Select resources. |
| Divide the information into several tabs. | Enable Left Navigation. |
| Optimize the view for large screens or mobile devices. | Create a Network Operations Center (NOC) view. |
| Limit what devices should be displayed on the view. | Add a limitation. |
| Access the view from the Menu Bar. | Add the view into the menu bar. |
After you create a view, you can adjust the layout and add resources to the view.
- Log in to the SolarWinds Platform Web Console as an administrator.
-
In the SolarWinds Platform Web Console toolbar, click the Settings drop-down menu and select All Settings.

-
Scroll down to Views and click Add New View.
-
Enter a name for the view.

-
Click the Type of View drop-down menu and select a view type, and click Submit.
You have now created an empty view. The Customize view page opens automatically.
The view type determines which resources you have to build your view and whether the view must reference an object. Detail views reference an object and Summary views do not require a reference. After you select a view type and click Submit, you cannot delete the type.
- (Optional) Adjust the layout of your view.
- Click Add New Column to add up to six columns.
Enter the width of each column.

- In each Column box, add resources for the new view.
Click + next to the column you want to modify.

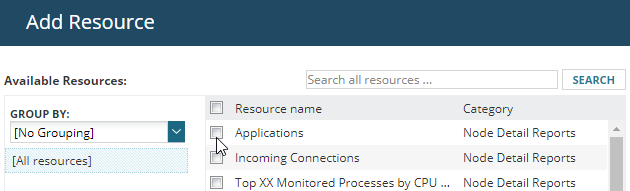
In the Add Resources box, select one or more resources.
- Click Add Selected Resources.
-
Click the arrows in each Column box to move the resources to a different location.
- Click Done.