Configure an out of office message for a tech
Techs can now configure an out of office date and time, as well as a backup tech in their tech account. This feature allows vacationing techs to address their incoming tickets while they are out of the office.
During the scheduled out of office period, the backup tech will receive tickets that are assigned to the vacationing tech. All tickets remain assigned to the vacationing tech, but can be processed by the backup tech.
If a tech is out of the office due to an illness or an emergency, an administrator can configure the out of office time and date for a tech, as well as assign a backup tech.
Administrators can view the out of office history for any tech. A non-admin tech can only view their out of office history.
The vacation flag [V] does not expire before the out-of-office period expires, but instead it expires according to the technician’s business zone.
If no business zone is set for a tech, the vacation flag [V] expires according to the default time zone.
Create an out of office request for a tech
Perform the following steps to create an out of office message. If a tech is absent due to a family emergency, the tech group administrator can create the message in their absence.
-
Log in to WHD as a tech or administrator.
-
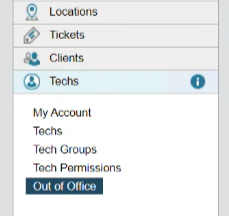
Click Setup > Techs > Out of Office.
-
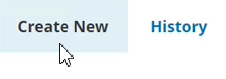
Click Create New.
-
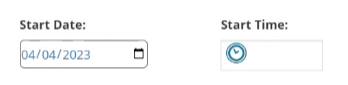
Select the starting date and time for the out of office reply.
-
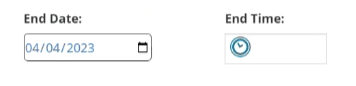
Select the end date and time for the out of office reply.
-
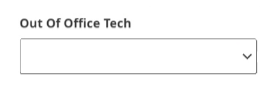
Click the Out of Office Tech drop-down menu and select the name of the tech who will be out of the office.
-
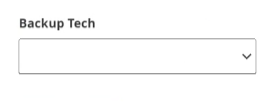
Click the Backup Tech drop-down menu and select the tech who will process all tickets assigned to the out of office tech.
-
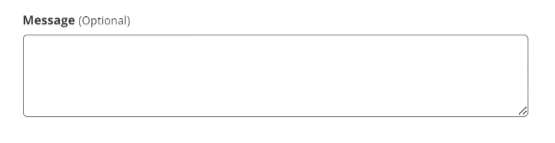
(Optional) Enter the text for your out of office message.
-
Drag the Enable out of office toggle the right.

When the out of office function is enabled, a green checkmark displays in the toggle switch.

To disable the out of office notifications, drag the toggle switch to the left.
-
Click Submit.
A message displays, confirming that the out of office functionality is enabled for the tech.

The backup tech will now receive all tickets assigned to the tech (who is out of the office) based on your configured start and end dates and times.
Review the out of office request history for a tech
Administrators can view the out of office history for any tech. A non-admin tech can only view their out of office history.
-
Log in to WHD as a tech or administrator.
-
Click Setup > Techs > Out of Office.
-
Click History.

-
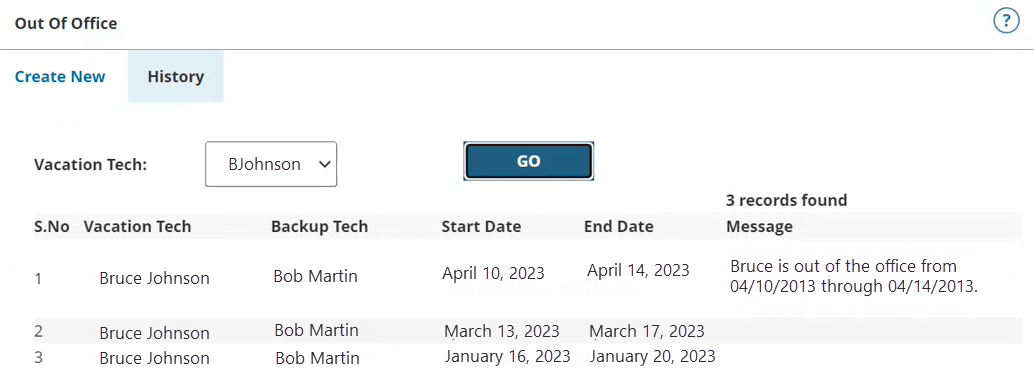
Click the Vacation Tech drop-down menu and select a tech.

-
Click Go.

A table displays listing the out of office history for the selected tech.
The following example displays the out of office history for a selected tech. If the tech did not create out of office messages in the past, the table is empty. If you are an administrator, the History view displays the out of office messages for all techs in their tech group.
Disable an out of office request
-
Log in to WHD as a tech or administrator.
-
Click Setup > Techs > Out of Office.
-
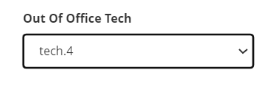
Click the Out of Office Tech drop-down menu and select the targeted tech.
For example, tech 4.
-
Locate the Enable out of office toggle switch.
-
Drag the switch to the left.
The following message displays on your screen.
-
Click OK.
The out of office request is disabled.
Reset an out of office request
-
Log in to WHD as a tech or administrator.
-
Click Setup > Techs > Out of Office.
-
Click the Vacation Tech drop-down menu and select the targeted tech.
-
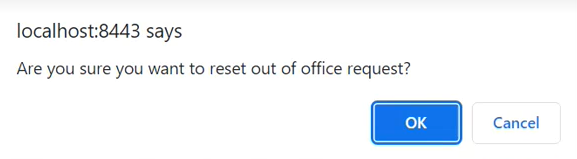
Drag the Enable out of office switch to the left.
A message displays on your screen.
-
Click OK.
The out of office request is reset.
-
Click the History tab.
The out of office request is logged with a CLOSED status.
Delete an out of office request
-
Log in to WHD as a tech or administrator.
-
Click Setup > Techs > Out of Office.
-
Click the History tab.
-
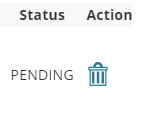
Locate the out of office request with a PENDING status.
-
Click the
 icon.
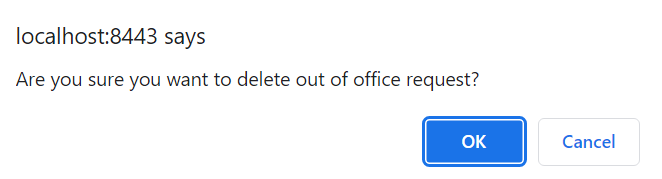
icon. The following message displays on your screen.
-
Click OK.
A message displays, confirming that the out of office request was deleted.