Configure the look and feel
The Look and Feel screen allows you to configure your WHD screen with style sheets and logos. By applying a style sheet to your deployment, you can render the user interface, client interface, and company invoices with your corporate branding.
Add your company logo to the user interface
The Logo will display on the login page, the header of the Client interface, and at the top of emails sent from WHD.
-
Locate a PNG or GIF image file for your logo.
For the classic style sheet (CSS), the image should be 259 x 61 pixels. Otherwise, the image height should be 70 pixels or less.
- Log in to the WHD Administrator Console as an administrator.
-
Click Setup > General > Look and Feel.
The Look and Feel page displays.

-
Click Add File and select the logo image file.

-
Click Save.
Your company logo displays in the Logo field.
If Web Help Desk generates an error message, restart the server.The Logo will display on the login page, the header of the Client interface, and at the top of emails sent from WHD.
Add your company logo to invoices
- Log in to the WHD Administrator Console as an administrator.
-
Click Setup > Parts & Billing > Invoicing Options.
Click the Logo tab.
-
Click Choose File and select the logo image file.

-
Click Upload.
The Logo will display at the top of all invoices sent from WHD.
Install and apply a new style sheet template
-
Click Style Sheet Gallery.
 Click the tooltip for details about rendering the style sheet.
 -
In the Web Help Desk (WHD) forum on THWACK, review the CSS template options.
Click an option to review the template.
-
At the bottom of the CSS template page, click the link to display the CSS code on your screen.
For example:

Click the down-arrow to download the file in ZIP format to your system.
- Copy the content of the CSS file to the clipboard.
-
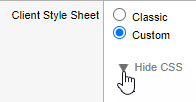
In the Client Style Sheet row, select Custom and click Edit CSS to open the CSS editor.

-
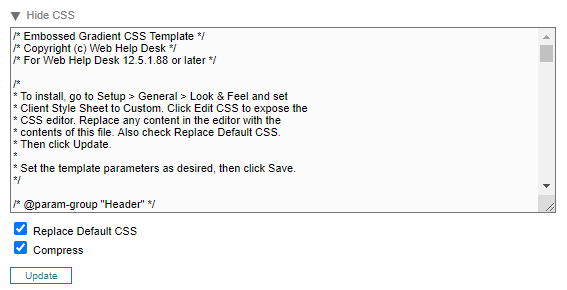
Remove any existing content in the editor (if available).

- Paste the template code into the editor.
- Select Replace Default CSS and Compress.
- Click Update to refresh the panel with parameters from the new template.
-
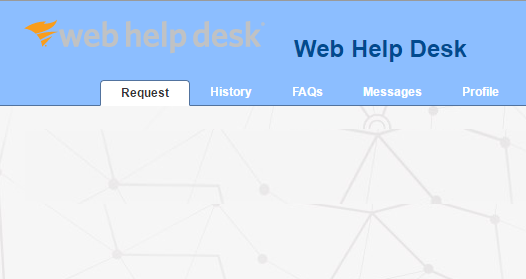
Review the new style sheet implementation at the bottom of the page.

-
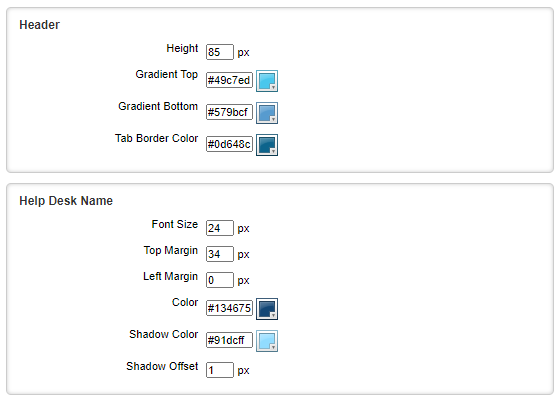
Adjust the Header, Help Desk Name, and remaining settings to suit your needs.

- Click Save to activate the new style sheet.
