Customize SolarWinds Platform Web Console menu bars
This topic applies only to the following products:
DPAIM — EOC — IPAM — LA — NAM — NCM — NPM — NTA — SAM — SCM — SRM — UDT — VMAN — VNQM
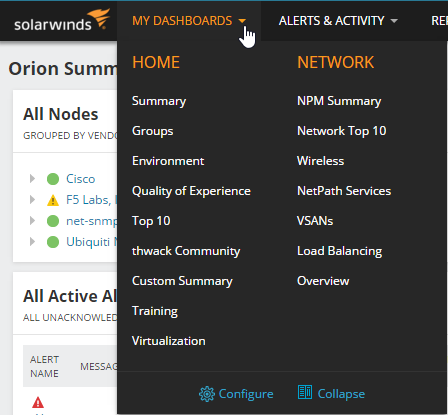
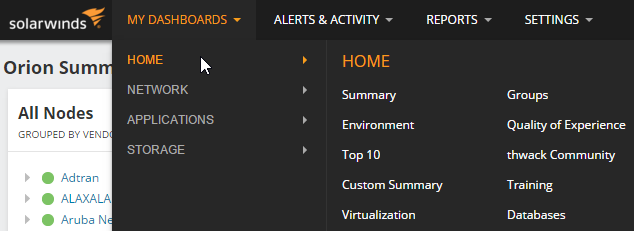
The My Dashboards menu provides shortcuts to SolarWinds Platform Web Console views. The default menu bars include Home, and a menu bar for each installed SolarWinds Platform product.
Click My Dashboards to show the default menus.
You can customize the views and labels in default menus for individual users.
If you do not want to show all items in menu bars, and prefer navigating to display items in a menu bar, click My Dashboards > Collapse.
Add menu bars
When you have a list of items you want users to access from My Dashboards, create a menu bar.
- Click My Dashboards > Configure.
- Scroll to the bottom of the page, and click New Menu Bar.
- Name the menu bar.
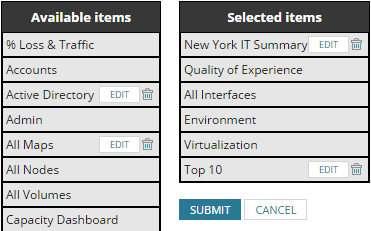
- Drag views from the Available items column into Selected items.

- Click Submit.
The new menu bar is created. You can now assign it to users who will see the items in My Dashboards.
Add views to menu bars
What users see in My Dashboards depends on menu bars assigned to them in their user account. To add an item to My Dashboards for all users who can see a menu bar, add the item to the menu bar.
- Click My Dashboards > Configure.
- Click Edit.

- Drag available items from the left-hand column to Selected Items on the right.
- Click Submit to save your changes.
- Click Add below the Available items list, provide a name, URL and description for the menu item, and click add.
- Drag the new item to the Selected items column.
Hover over any view title to read the description.
To change the order of menu items, drag and drop items in the Selected column.
You can also add links to node details views for specific nodes, or to external Internet pages as a menu item.
Users who can see the menu bar in My Dashboards will see the added items.
Specify menu bars for users
The items users see in My Dashboards and in Alerts & Activity are specified in their user accounts.
Improve performance by setting the Home Page View to a view with a limited number of resources on it.
- Click Settings > All Settings in the menu bar.
- In the User Accounts grouping, click Manage Accounts.
- Select a user, and click Edit.
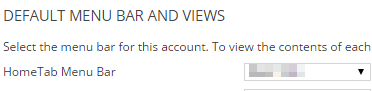
- Scroll down to Default Menu Bars and Views, and select top menu bars from the lists.
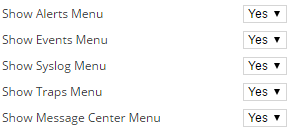
- Select Yes for the items the user can see in the Alerts & Activity menu bar.
- Select an item and use the arrows to change the order of menu bars. Select an item from the list to specify the default Home page view.

- Click Submit.
The user can now use the specified links in My Dashboards and Alerts & Activity menu bars.