Workflows Overview
The Workflows Overview provides a quick, searchable snapshot of all your team's Workflows. Dive into each one to learn, make changes, and take action.

Workflows Overview
The Workflow Overview provides the following details:
| Field | Desciption |
|---|---|
| Title | Displays the title of the workflow. |
| Enable | Option to enable/disable a workflow. |
| Trigger | Shows the conditions set to trigger the workflow. |
| Actions | Shows the sequence of actions executed when the workflow is triggered. |
| Owner | Indicates the user or squad that owns the workflow. |
| Created | Shows user information and the creation timestamp of the workflow. |
| Updated | Shows user information and the most recent update timestamp of the workflow. |
| # of Execution | Displays the number of times the workflow has been executed. |
Search
To search for a specific workflow, enter its name or any other related keywords in the Search field and hit enter.
Filters
To filter workflows,
-
Navigate to the Workflows page -> On the top-right, locate and click on the Filter icon.
-
Apply the desired combination of filters by selecting options such as Event, Action, Owners, etc. -> Once you have set your filters, click on the Apply button.


Below is a comprehensive list of filters accessible on the Workflows Page:
| Filter Name | Description |
|---|---|
| Event | Allows you to filter Workflows based on Events. They can be Incident Triggered, Incident Acknowledged, Incident Reassigned, and Incident Resolved. |
| Actions | Allows you to filter Workflows based on Actions set up. For instance, Add a Communication Card, and Attach Runbook(s). |
| Tags | Allows you to filter Workflows based on Tags. |
| Owner | Allows you to filter Workflow based on its Owner. |
| Created By | Allows you to filter Workflows based on the user it was created by. |
| Updated By | Allows you to filter Workflows based on the user who updated it. |
| Show Enabled | Allows you to filter Workflows to show only the enabled or disabled ones. |
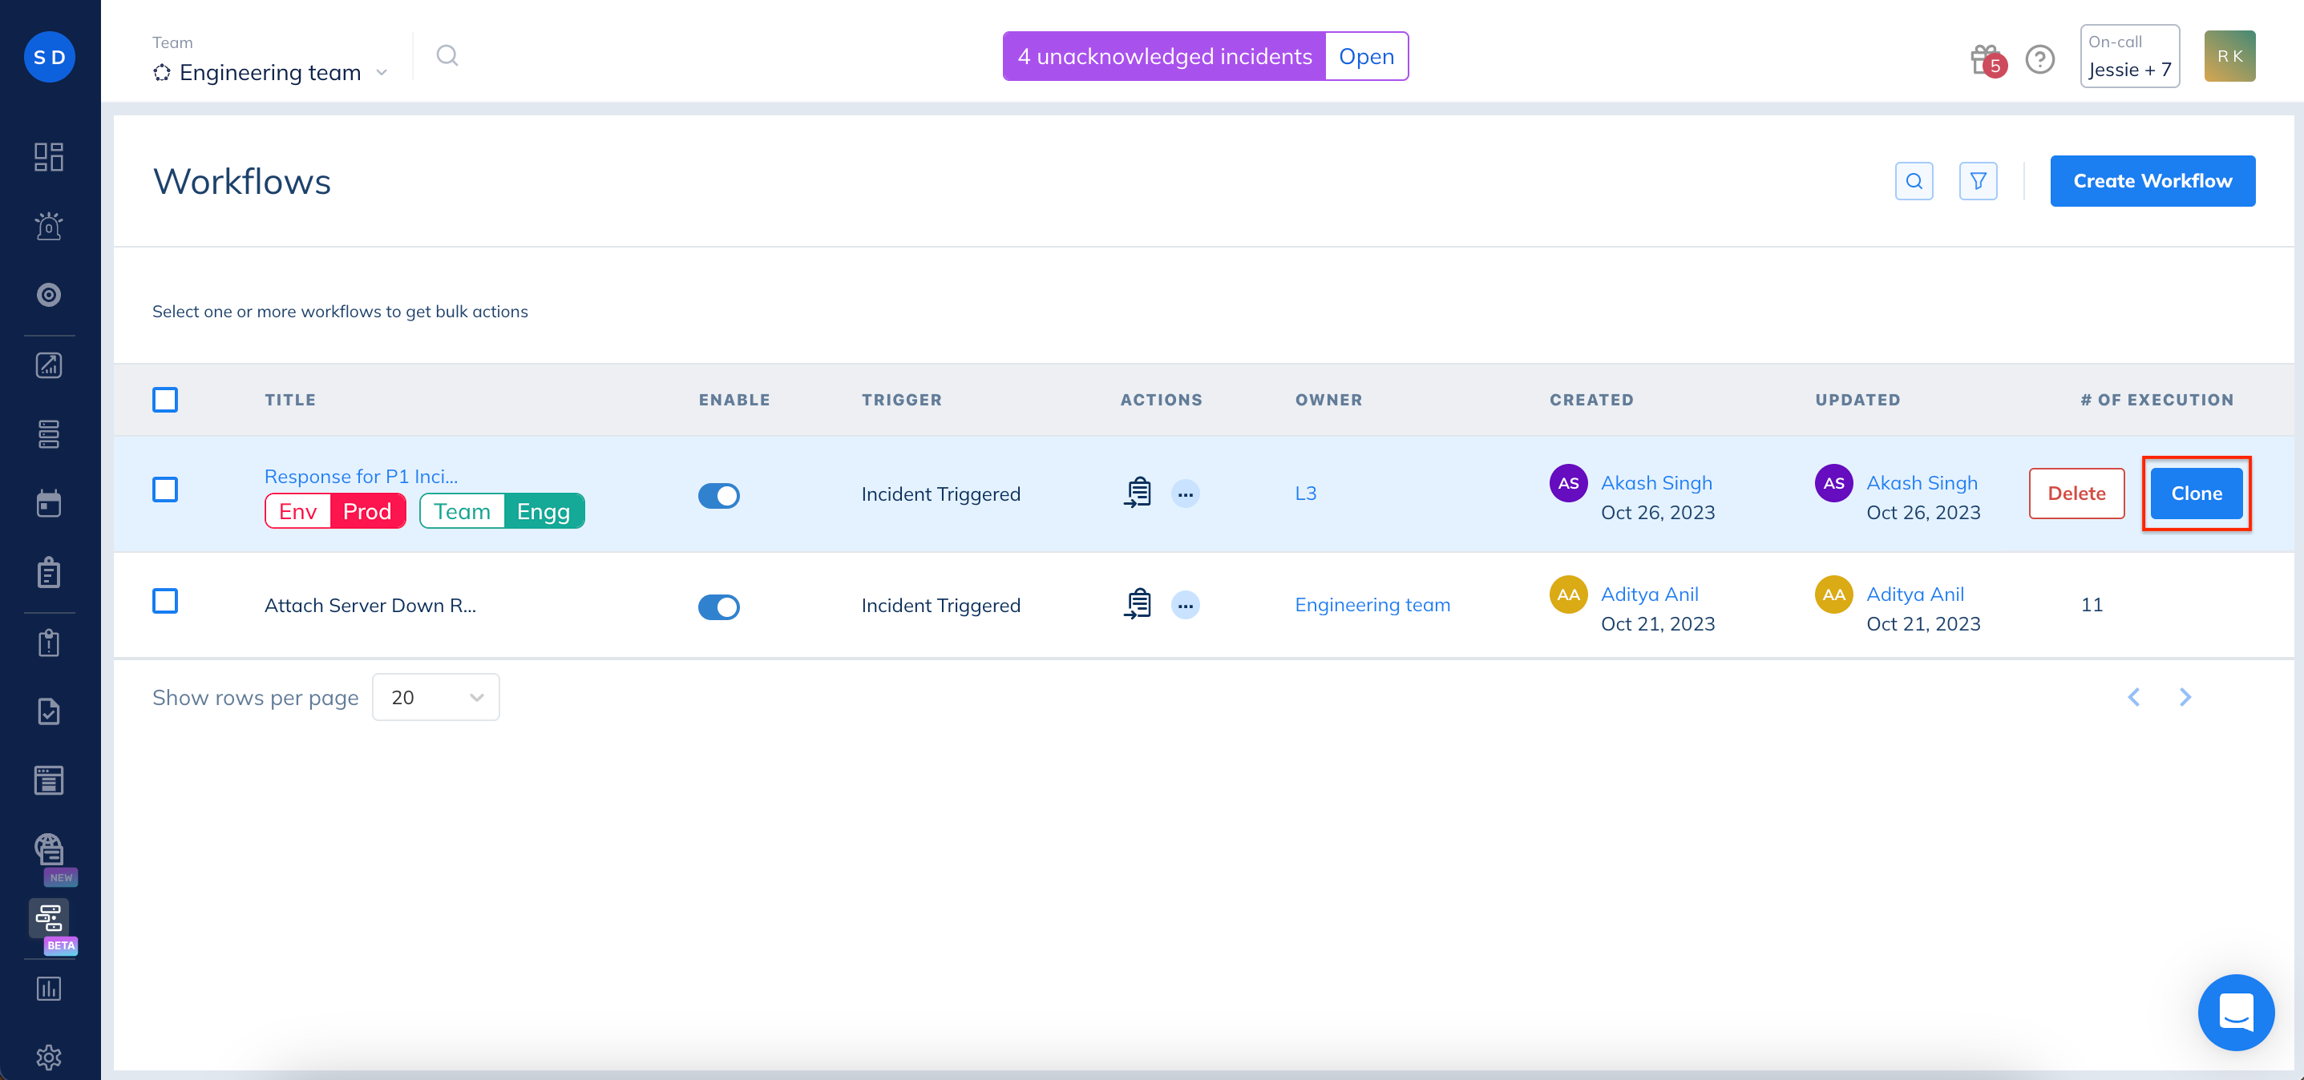
Clone Workflow
If you need to quickly establish a Workflow that closely resembles an existing one, but with minor modifications, you can expedite the process by cloning it. This allows you to make the necessary adjustments and bring the updated Workflow into operation more swiftly.
To clone a Workflow,
Navigate to the Workflows page -> Identify the Workflow you wish to clone.
On mouse-over, click Clone, and you’re done.
Pause Workflow
By default, a newly created workflow is enabled. To pause a workflow,
Navigate to the Workflows page -> Select one or more Workflows from the list.
Click Disable, and you’re done.
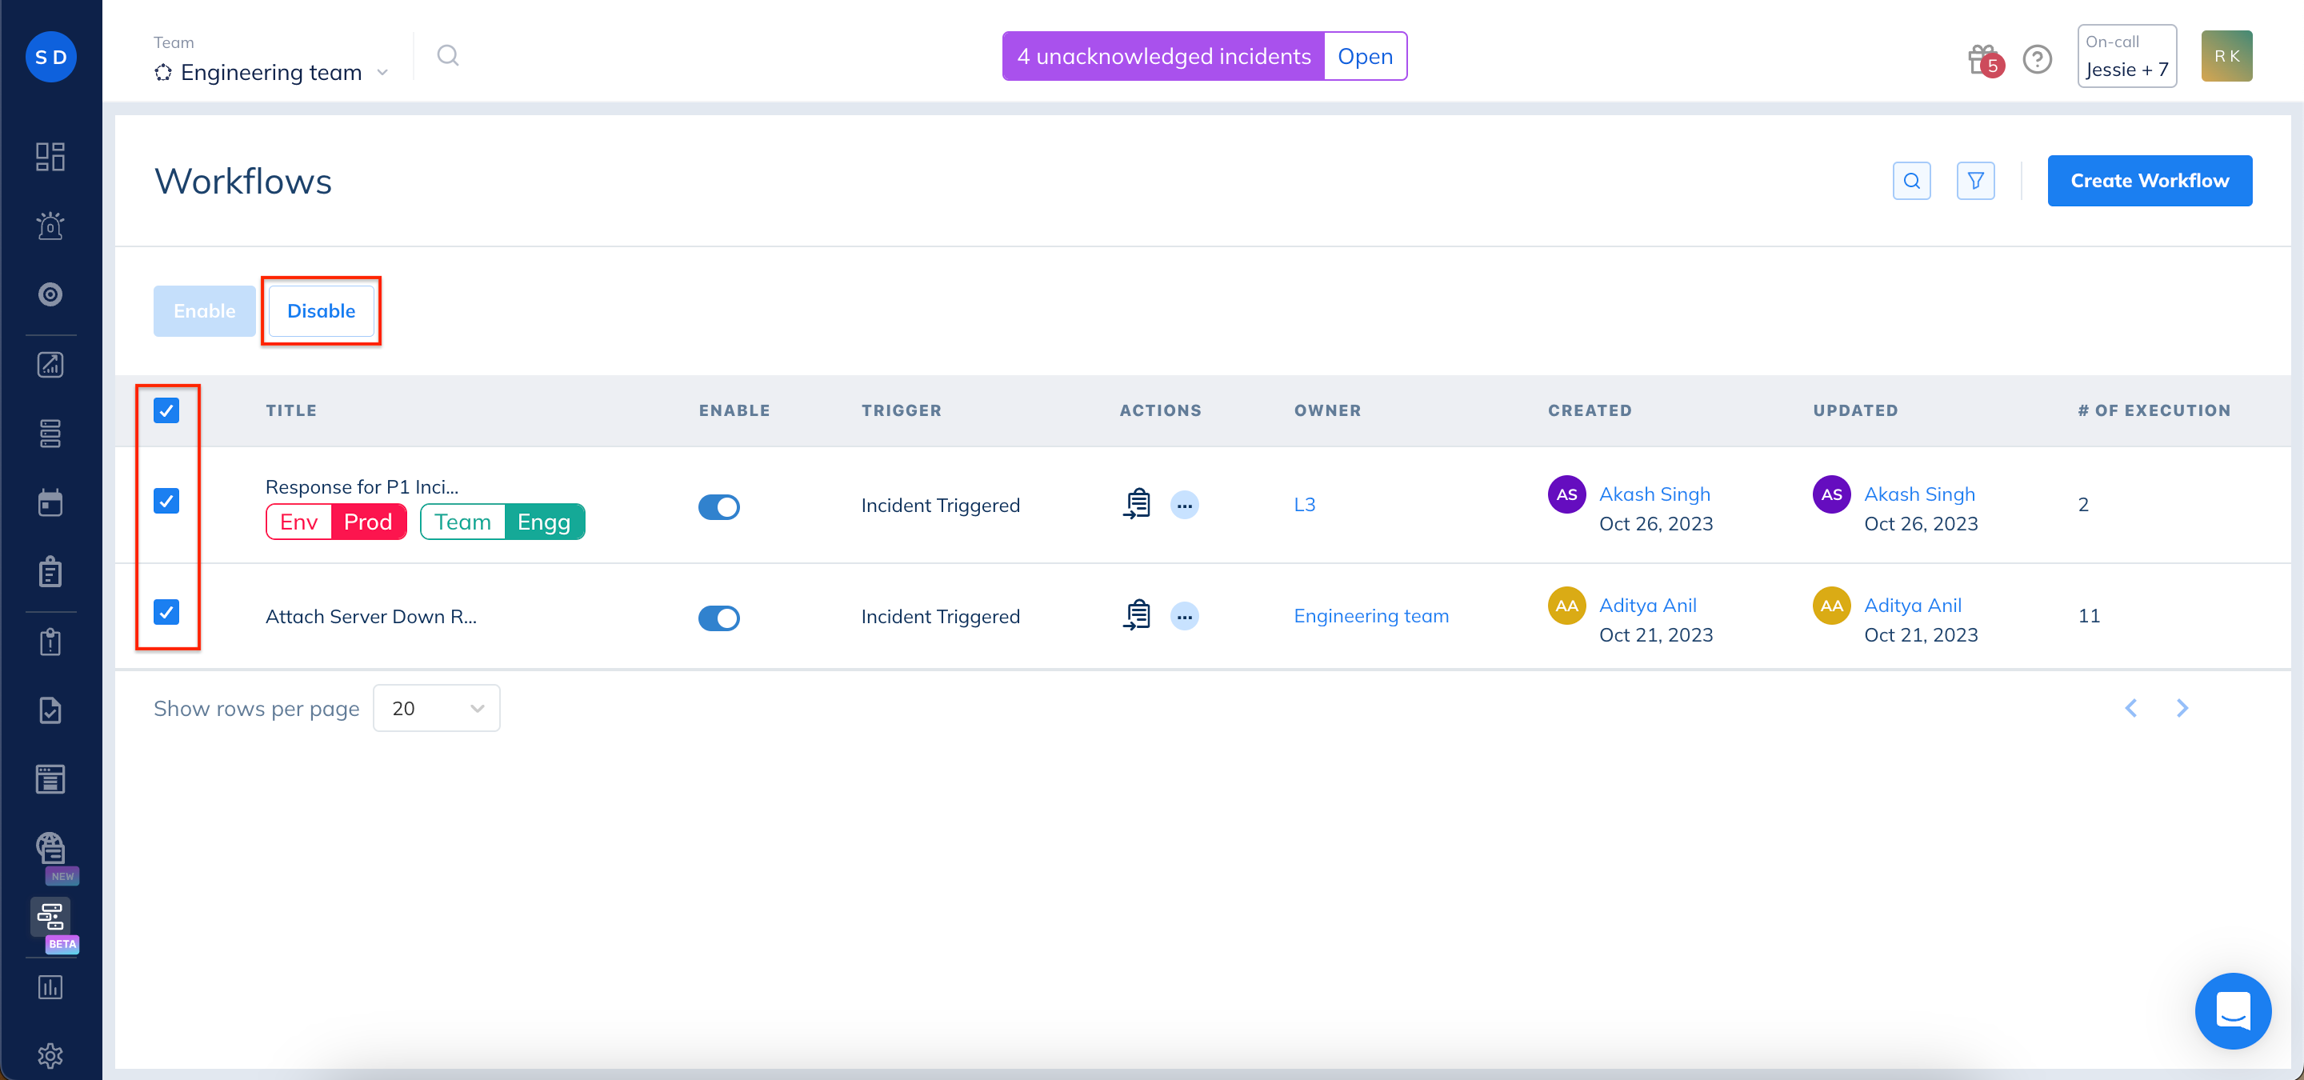
Alternatively, you can also use the radio button next to each listed workflow to enable or disable it individually.