Microsoft ADFS SSO
Incident Response supports SAML 2.0-based Single Sign-On (SSO) login for Microsoft Active Directory users and you can set it for your organization by following this integration guide.
Pre-requisites
-
Account Owner / Administrator account in Incident Response
Points to Note:
-
Only an Administrator / Account owner can enable and configure Microsoft ADFS SSO for an organization in Incident Response.
-
Once enabled, only the Account owner can use email password-based login by default although it can be configured to enable email-based login for Administrators as well.
Setup Instructions
-
Login to
app.squadcast.comand navigate to the Settings > Extensions. Click the Configure button under SSO. -
In the opened modal, select the Custom SAML 2.0 tab and click Show configuration guide for Custom SAML 2.0.
-
As given in the displayed guide, copy the ACS URL. Then log in to your server and go to
Server Manager. -
Go to
Tools->ADFS Management -
Click on
Add Relying Party Trust. -
Select
Claims Awareand clickStart. -
Select
Enter data about the relying party manuallyand clickNext. -
Enter the
Display name. ClickNext. -
Select
Configure Certificateand clickNext. -
Select
Enable Support for the SAML 2.0 Web SSO protocol. Enter the ACS URL you copied from Incident Response. ClickNext. -
Paste the ACS URL in
Relying on party trust identifier. ClickAdd. Then clickNext. -
Select
Access Control Policy. ClickNext. -
In
Ready to Add Trust. ClickNext. Then ClickClose. -
Click
Edit Claim Insurance Policy. -
Click
Add Rule. -
Select
Send LDAP Attributes as Claims. ClickNext. -
Give a name. Select Attribute Store as
Active Directory. And map LDAP attributes to Outgoing Claim Type as shown below. MapE-Mail-AddressestoE-Mail Address,Given-NametoGiven NameandSurnametoSurnameClickOk. -
Then Click
Add Rule. SelectSend Claims using Custom Rule. ClickNext. -
Give a
Claim rule name. And enter the followingCustom rule. ClickOk.


c:[Type == "http://schemas.xmlsoap.org/ws/2005/05/identity/claims/surname"]
 => issue(Type = "last_name", Issuer = c.Issuer, OriginalIssuer = c.OriginalIssuer, Value = c.Value, ValueType = c.ValueType);
-
Repeat the Above step and add two more custom rules. Following are the two rules.

c:[Type == "http://schemas.xmlsoap.org/ws/2005/05/identity/claims/givenname"]
 => issue(Type = "first_name", Issuer = c.Issuer, OriginalIssuer = c.OriginalIssuer, Value = c.Value, ValueType = c.ValueType);

c:[Type == "http://schemas.xmlsoap.org/ws/2005/05/identity/claims/emailaddress"]
 => issue(Type = "email", Issuer = c.Issuer, OriginalIssuer = c.OriginalIssuer, Value = c.Value, ValueType = c.ValueType);
Points to Note:
Make Sure the user accounts to be used for SSO have the first name, last name and email configured.
-
Click
Apply. -
Again, using the
Edit Claim Rulewizard, add a rule using the template.Transform an incoming claimof type Email Address with Outgoing Claim Type Name ID and Outgoing Name ID Format as Email, passing through all claim values. -
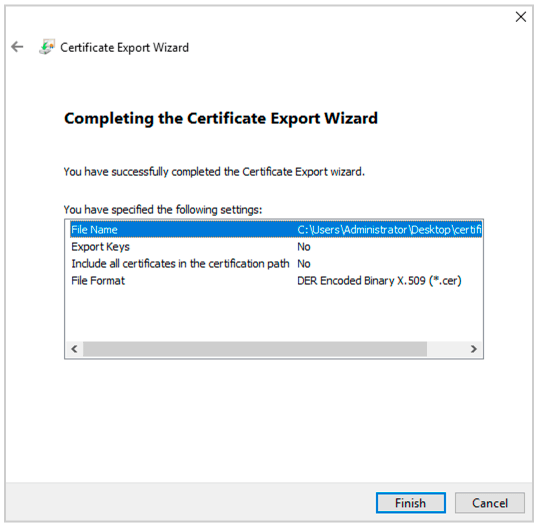
In your ADFS management dashboard. Go to
Services->Certificates. SelectToken Signing Certificateand ClickView Certificate. Go toDetails->Copy to Fileand export the Der encoded binary X.509 certificate. -
Now convert the
.cerfile to a.pemfile using the following command in Powershell.


openssl x509 -inform der -in certificatename.cer -out certificatename.pem
-
Open the .pem file in a text editor. Copy the contents and paste them into Incident Response under
X.509 Certificate. Then enter theSaml 2.0Endpoint as https:///adfs/ls
Make sure to add the Domain Name of your Organization, for SSO login to work

-
Enable
SSOand clickSave. -
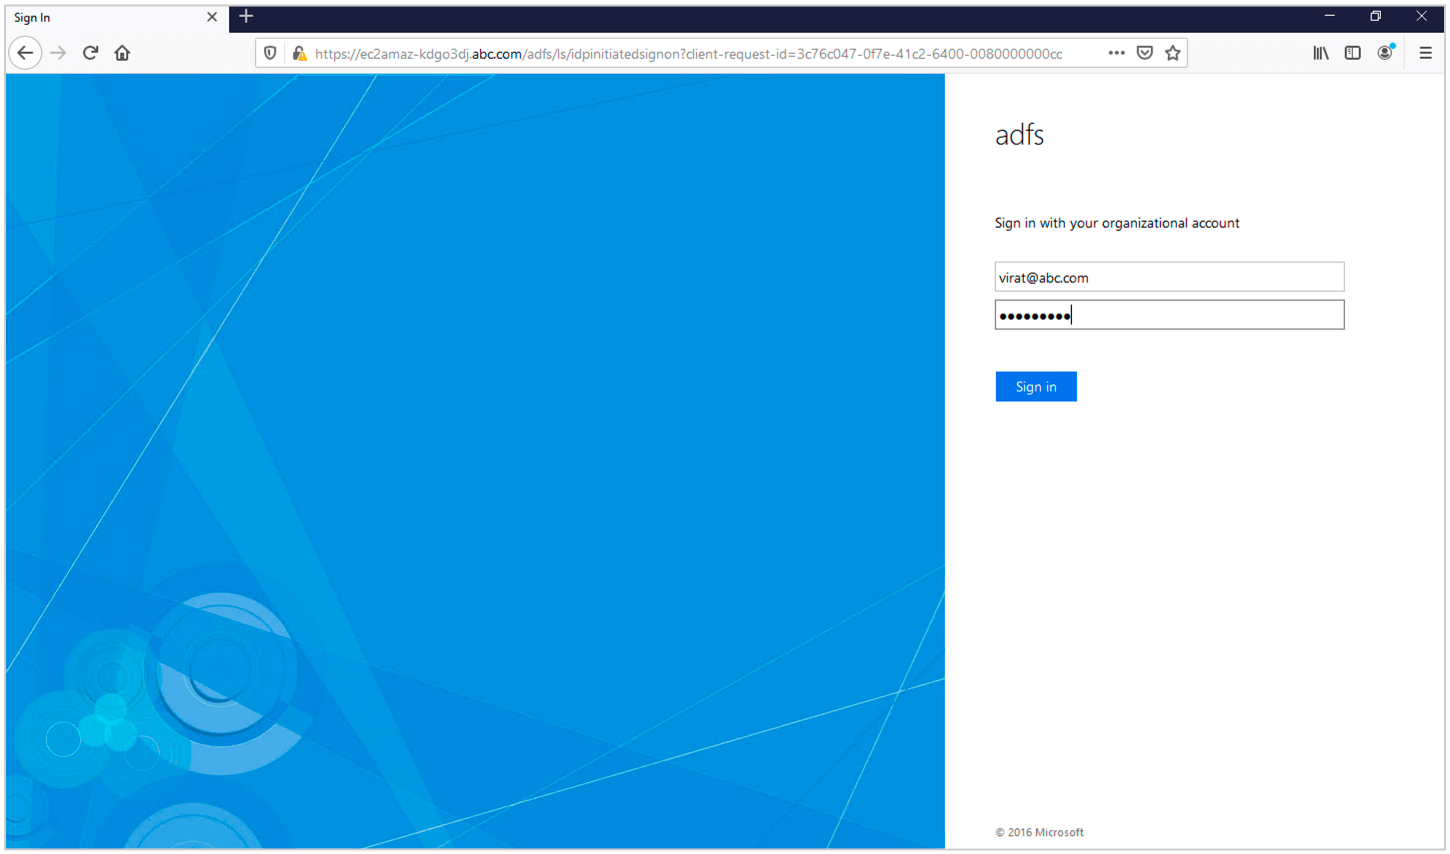
ADFS SSO is now configured. To test it you can go to https:///adfs/ls/idpinitiatedsignon. Select Your application and sign in with your user account. You will be logged in to Incident Response and a user will be created.