(Optional) Set up SFTP connections to external systems
You can save your SEM reports to one or more Windows or non-Windows systems using a secure file transfer protocol (SFTP) connection. This option ensures that you can deliver large reports that may exceed your email requirements to one or more systems in your organization. This option also helps to minimize hard drive space in your SEM deployment.
You can set up as many SFTP connections as you need. This process helps you streamline your SEM reports delivery to department and management servers where authorized personnel can access their requested reports in a timely manner.
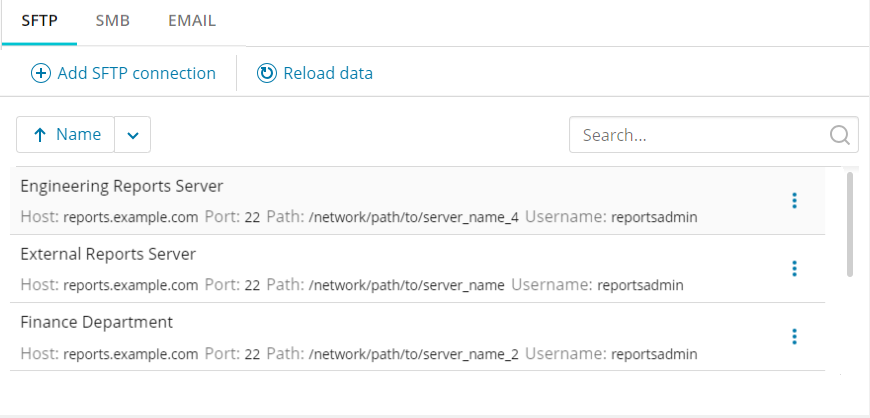
Below is an example of the SFTP connections screen. Each connection lists the server hostname or IP address, server port number, network path to the server, and the server username. After you add a new SFTP connection, you can edit, copy, or delete the connection.
Locate an SFTP connection
The following table describes how to locate SFTP connections in the Settings > Sharing > SFTP tab.
| Action | Description |
|---|---|
| Locate a specific connection | Enter a search term in the Search field and then click the magnifying glass to display the results. to display the results. |
| Display all connections by host or name | Click  in the toolbar. in the toolbar. |
| List all connections in ascending or descending order | Click Name in the toolbar. |
| Collect the latest connection and redisplay the results | Click Reload data in the toolbar. |
Set up an SFTP server
You can set up a Windows or non-Windows system as your SFTP server. The system must have the SFTP protocol enabled to establish an SFTP connection.
Set up an SFTP server using SolarWinds SFTP/SCP Server
For Windows systems, SolarWinds recommends SolarWinds SFTP/SCP Server. This free tool allows you to transfer files up to 4 GB in size to a Windows system.
-
Select a Windows system in your organization as a dedicated SFTP server.
-
Log in to the system as an administrator.
-
Enable the SFTP protocol on the system.
See your operating system documentation for instructions. -
Navigate to the SolarWinds SFTP/SCP Server website.
-
Click Download Free Tool.
-
Complete the online form, and then click Proceed to Free Download.
-
Follow the online prompts to complete the download.
-
Run the installer on the Windows system.
-
Add a new SFTP connection to the Windows system.
Add a new SFTP connection
-
Locate a Windows or non-Windows system on your network that will store your SEM reports.
-
Verify that the SFTP protocol is enabled on:
-
The system designated as the SFTP server
-
The system hosting your SEM deployment
-
-
Log in to SEM as an administrator.
-
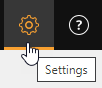
In the toolbar, click the Settings icon.
-
In the Settings screen left column, click Sharing.

-
Click the SFTP tab.
-
Click Add SFTP connection.
-
In the SFTP tab, click Add SFTP connection.
-
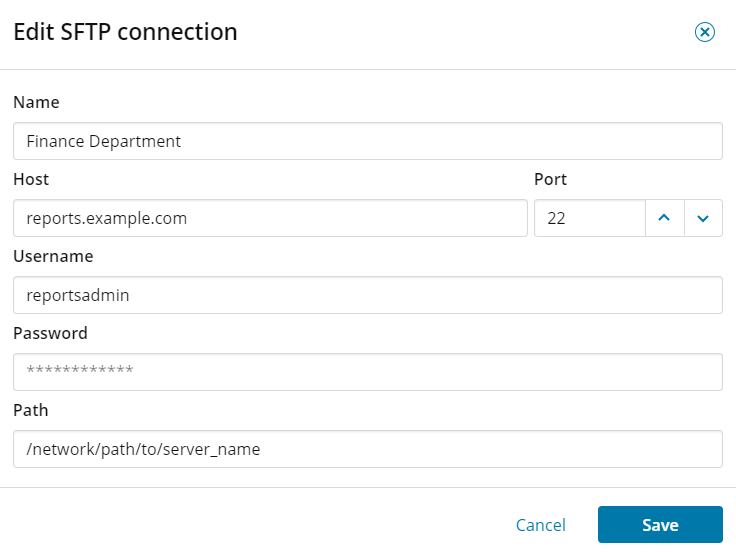
In the Name field, enter a name for this SFTP setting. For example:
-
In the Host field, enter the hostname or IP address of the target SFTP server where you want to store the reports. For example:
-
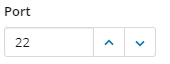
In the Port field, enter the port number of the target SFTP server. The default is port 22. For example:
-
In the Username field, enter a username for this SFTP server. For example:

-
In the Password field, enter a user password for this connection.
-
In the Path field, enter the network path to the reports server. For example:

-
Click Create.

A message displays, confirming the new connection.

The new connection displays in the Settings menu.

-
Repeat step 1 through step 13 to create additional SFTP connections in your organization.
Edit an SFTP connection
-
Log in to SEM as an administrator.
-
In the toolbar, click the Settings icon.
-
In the Settings screen left column, click Sharing.
-
Click the SFTP tab.
-
Locate a connection you want to edit. For example:
-
Click
 and select Edit.
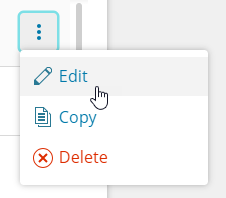
-
Edit the SFTP connection settings as required. For example, you can change the connection name.
-
Click Save.
A message displays, confirming the edit.

The updated connection displays in the Settings window.

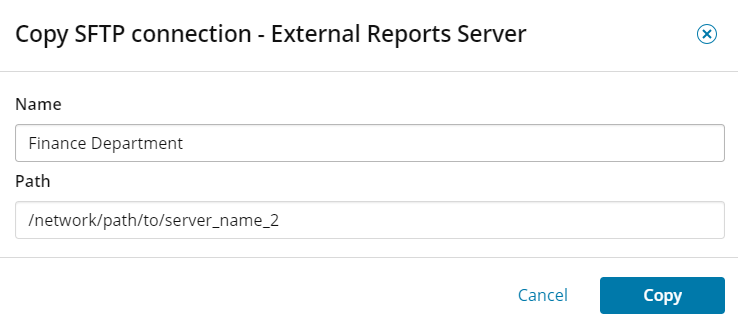
Copy an SFTP connection
If you plan to create several SFTP connections in your deployment with a similar path, copy an existing connection and then change the name and path to the new external server.
-
Log in to SEM as an administrator.
-
In the toolbar, click the Settings icon.
-
In the Settings screen left column, click Sharing.
-
Click the SFTP tab.
-
Locate a connection you want to copy. For example:
-
Click
and select Copy.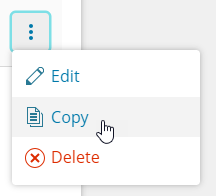
-
Update the connection settings with a unique name and path.
In the following example, the connection name is changed to Finance Department and the server name is changed to server_name_2.
-
Click Copy.
A message displays, confirming the copy.

The copied connection with the new connection settings displays in the Settings window.

Delete an SFTP connection
-
Log in to SEM as an administrator.
-
In the toolbar, click the Settings icon.
-
In the Settings screen left column, click Sharing.
-
Click the SFTP tab.
-
Locate a connection you want to delete. For example:
-
Click
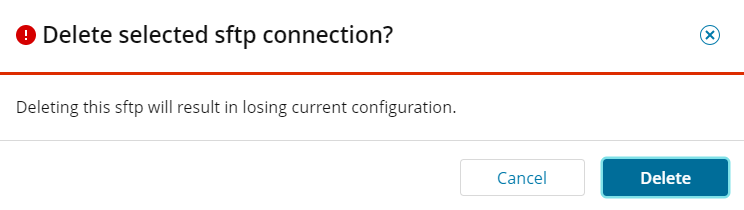
and select Delete.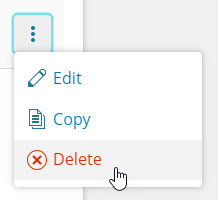
The following message displays in the console.
-
Click Delete.
The connection setting is deleted from the Settings window.