Discover your servers and applications in SAM
Discovery is a term that describes how the SolarWinds Platform identifies traditional physical servers, AWS EC2 instances, Azure VMs, Nutanix clusters, applications, and other type of items that already exist in your environment.
Before you begin:
- Review your environment to determine what to monitor. See What should I monitor in SAM?
- Enable Windows devices for WMI.
- Enable the networking devices you want to monitor for SNMP.
 Watch this video:
 Run the Discovery Wizard
The first time you run the Discovery Wizard (also called the "Network Sonar Wizard"), SolarWinds recommends adding a limited number of application servers, including Exchange, IIS, SQL, Linux, and Unix. The examples in this guide focus on monitoring IIS and the operating system of your application server, but the same steps apply to monitoring any application.
-
If the Discovery Wizard does not start automatically after configuration, click Settings > Discovery Central.
-
In the Network Discovery card > Add Data menu, choose Discovery my Network.
-
Click Add New Discovery.
-
On the Network panel, toggle on the Advanced Network Sonar Wizard.
-
If this is your first Discovery, add a small subnet or limited number of IP addresses, then click Next.
As you scale your implementation, you can use the following scanning options.
Option Description IP Ranges Use this option when you want the SolarWinds Platform to scan one or more IP ranges.
If you have many IP ranges to scan, consider adding multiple discovery jobs rather than including all ranges in a single job.
Subnets Use this option to scan every IP address in a subnet. SolarWinds recommends scanning at most a /23 subnet (512 addresses max).
Scanning a subnet returns everything that responds to ping, so we recommend only scanning subnets where most devices are objects you want to monitor.
IP Addresses Use this option for a limited number of IP addresses that do not fall in a range.
Since a network discovery job can take a long time to complete, SolarWinds recommends using this option initially.
Active Directory Use this option to scan an Active Directory Domain Controller.
Using Active Directory for Discovery is particularly useful for adding large subnets because the SolarWinds Platform can use the devices specified in Active Directory instead of scanning every IP address.
-
When the Agents panel appears, if any nodes use agents, select Check existing nodes polled by an agent for node changes and updates, and leave Check all existing nodes polled by agent selected.
This setting ensures that any agents you deploy, including those on the SolarWinds Platform server, are up-to-date. If no nodes use agents, skip this option.
-
On the Configuration panel, add your SSH/Telnet credentials to discover and add router and switch configuration data, as well as devices that only respond to ICMP.
-
On the SNMP panel, to monitor SNMP-enabled devices, enter credentials and click Next.
-
On the Windows panel, to discover WMI or RPC-enabled Windows devices, click Add New Credential and provide the required information.
SolarWinds recommends monitoring Windows devices with WMI instead of SNMP. Also, note that WinRM is the default transport method used to fetch data for WMI-based component monitors.

-
On the Monitoring Settings panel, SolarWinds recommends manually setting up monitoring the first time you run Discovery so you can review the list of discovered objects and select what you want to monitor. Otherwise, you can configure Discovery to automatically start monitoring objects it finds.

-
On the Discovery Settings panel, leave the default settings selected, and click Next.
-
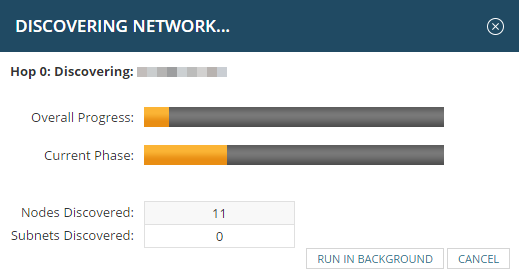
Accept the default frequency and run the Discovery.

Discovery can last from 5 minutes to several hours, depending on the number of servers involved.

If the status of a node remains Unknown after Discovery, see Troubleshoot nodes and interfaces that are Unknown.