Generate a query report
You can generate a query report in CSV for PDF format.
-
Log in to the SEM console.
-
Click Historical Events in the toolbar.
-
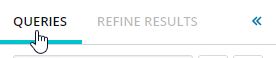
In the left column, click the Queries tab.
-
Maximize a query category and select a query for your report.
 See Analyze historical data for a description of all query icons.
 -
Mouse over the query name, click the vertical ellipsis
 , and select Generate report.
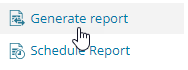
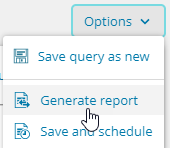
You can also click the Options drop-down menu in the top toolbar and select Generate a report.
-
In the Generate Report dialog box, the Name field defaults to the query name. Accept this default name or change the name as required.

-
Click the Format drop-down menu and select CSV or PDF as your report format. In the following example, PDF is selected.

-
Click the Group by drop-down menu and select a category used to group the events together. In the following example, all events are grouped together by the event detection IP address.

-
In the Events Limit field, enter the maximum number of events you want to include in your report. Click the up or down arrows to add or subtract your field value by one event.
The default value is ten million (10000000) events.

-
Click Generate.
The report is saved to a ZIP file and downloaded to your Windows system.
-
Unzip the file using an unzip utility.
-
Click on the file to view the report data.
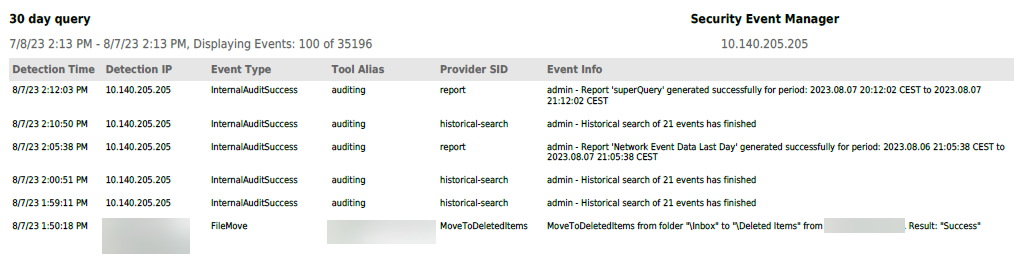
The following example provide a partial example of a 30 day query report.