Create a priority type
 See this video: Ticket Priority Levels.
You can use Web Help Desk to automate ticket workflows. For example, you can automatically change a ticket's priority type.
In the following example, a Critical priority type is created. In the next topic, the Critical priority type will be used in an action rule that changes all tickets submitted by the CEO to Critical.
-
Click Setup > Tickets > Priority Types and Alerts.
-
Click New.
-
Enter a name for this priority type.

-
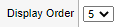
Click the Display Order drop-down menu and select a display order for this priority type.
-
Select a color for the label background. Select white for no label color.

-
Select the amount of time when tickets with this priority are due. You can override the due dates for individual tickets in the Ticket Details page. All due dates will display in the calendar.

-
(Optional) In the Client Reminder Interval field, select the amount of time to elapse before sending (or resending) a reminder to clients.
 Reminders are only sent for tickets in a status type with Client Reminders enabled.
 -
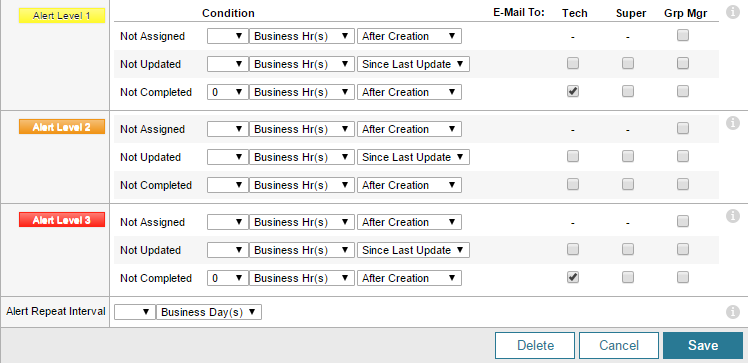
Select the amount of time between reminders to trigger an alert. If you select no value, the alert will not repeat.
 Reminders are sent by email to all recipients specified in the Tech, Super, and Grp Mgr columns of the triggered alert condition. The alerts repeat until the triggering conditions are met.
 - Click Save.
-