Add purchase orders
The Web Help Desk purchase orders feature tracks your asset purchases and leases.
This feature is not designed to replace your company’s current accounting or ordering systems. Web Help Desk does not create purchase orders, but rather stores information about purchase orders.
Add a vendor
Before you add a new PO, add one or more vendors into the database.
- In the toolbar, click Setup > Assets > Vendors.
- Click New.
- In the Vendors information screen, complete the fields as required.
- Click Save.
Add a purchase order
- In the toolbar, click Assets.
-
Select the Purchase Orders tab.

-
In the window, click New or New Purchase Order.
-
In the PO Number field, enter a unique purchase order number.

-
In the Order Date field, add the date when the purchase order was entered. Click the icon to select a date.

-
In the Invoice Date field, enter the date when the vendor shipped the product. This date is used to calculate the warranty and lease expiration date. Click the icon to select a date from the calendar.

-
Click the Vendor drop-down men and select the vendor associated with the purchase order.

-
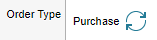
In the Order Type row, click the icon to select Lease or Purchase.
-
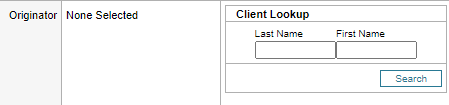
In the Originator row, enter the last name of the client who created the PO request.
-
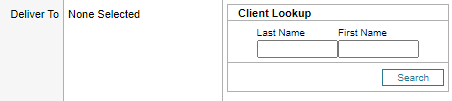
In the Deliver To row, enter the last name of the client who receives the purchased items.
-
Click Add File and add any supporting documentation (if required).

-
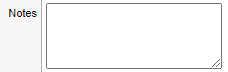
In the Notes box, enter any additional information about the purchase order (if required).
- Click Save.
Add purchase order line items
After you save a purchase order, you can add line items to the purchase order using the line item editor. These line items can include individual parts and their associated costs.
Conventions for purchase order line items
When you add purchase order line items, use the following conventions:
- Associate specific assets by providing a valid asset number. If you link a line item to an asset number that does not exist or is already linked to another PO, Web Help Desk generates an error message.
- All line items must define a model and may contain part number and price information. Assets can also be associated to a PO from within the Asset detail view.
- Include a “free” line item defined in the PO to link the asset. For example, if you add a new Apple Macintosh asset, you could associate it with the free line item because the computer system line item is free (not linked) to any asset number.
Instructions
- Select a purchase order.
- Click Assets.
- Select the Purchase Orders tab.
- In the Purchase Order Search window, complete the fields with your search information and then click Search.
- In the PO Number column, click the appropriate purchase order number.
- Click the
 icon to edit the PO.
 -
In the Line Item box, complete the appropriate fields as required.
Your line items must define a model and may contain part number and price information. Assets can also be associated to a PO from within the Asset detail view.
- Click New Line Item to add additional line items.
- When completed, click Save.
Add new columns to Purchase Order
-
Login with a Tech/Admin account.
-
Navigate to the horizontal menu. Go to Asset > Purchase Order.

-
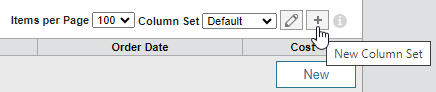
Click + in the purchase order toolbar to create a new column set.
-
Enter a name to identify the column set.

-
Choose which columns to include by dragging column labels into or out of the Selected Columns list.
-
Specify the order of the columns by dragging column labels up or down in the list to arrange them.
-
Click Save.
Import purchase orders
See Import data for details about importing purchase orders.