Configure the Disable Networking active response in SEM
Use the Disable Networking Active Response to disable networking on a SEM agent at the Windows Device Manager level. Use this active response to isolate network infections and attacks. You can automate the active response in a SEM rule or manually execute the response from the Respond menu on the SEM Console.
Use caution with this active response because it responds to the SEM agent at the Device Manager level. To avoid unintentionally disabling networking, consider placing new rules with this action in Test mode until you are sure your correlations are configured appropriately.
Configure the Windows active response connector on each SEM agent that requires active responses.
You can deploy your SEM agents and configure the Windows active response connector based on where you want to perform these actions. To perform actions at the domain level, deploy a SEM agent to at least one domain controller. To perform actions at the local level, deploy a SEM agent to each computer that requires a response.
-
Log in to the SEM Console.
-
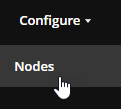
On the toolbar, click Configure > Nodes.
-
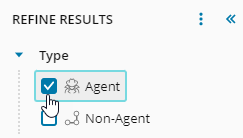
In the Refine Results column, expand Type and select the Agent check box.
-
Select an agent, and then click Manage node connectors.

-
In the search box, type
Windows Active Responseand then click the magnifying glass icon.
-
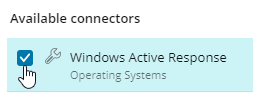
Under Available connectors, select the Windows Active Response connector.
-
Click Add Connector.

-
Enter a custom alias name for the new connector, or accept the default.
-
Click Add.

-
Under Configured connectors, select your configured connector.
-
Click Start.

The green indicator next to the connector name displays, indicating that the connector is started and running.
Re-enable networking on a computer affected by the active response
-
Log in to the computer locally with administrative privileges.
-
Open Control Panel, and then navigate to System and Security > Administrative Tools > Computer Management.
- In Computer Management, navigate to System Tools > Device Manager.
-
Expand the Network adapters group.
-
Select the network adapter, and then click Action > Enable.