Create a DHCP scope
A DHCP scope is a predefined range of IP addresses for a subnet that the DHCP server is configured to dynamically allocate to DHCP clients. In the simplest setup, a DHCP server would serve a single scope which would correspond to a subnet. However, you may need to create scopes that are smaller than a subnet or that have exclusions.
Reasons for excluding IP addresses from scopes include:
- The computer running the DHCP server may require a static IP address assignment.
- Some devices may not support DHCP, and require a static IP address.
Before you can create a scope, you will need to know the start and end IP address for the scope.
DCHP Scopes Wizard 2023.3
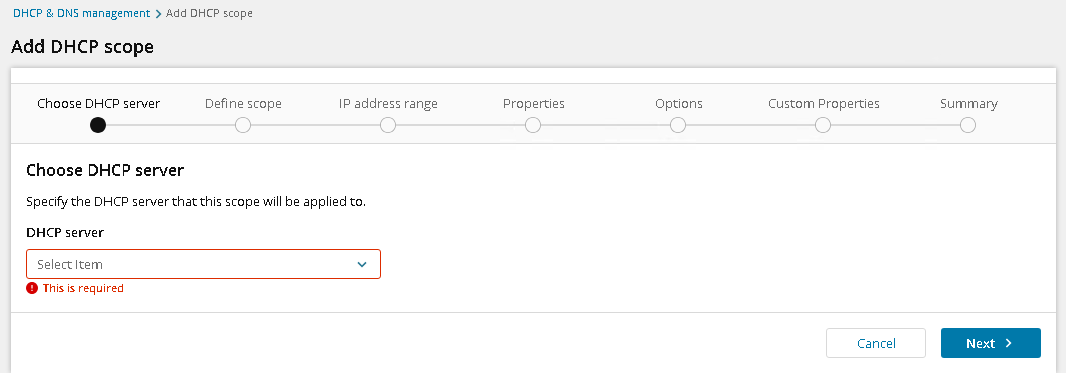
- Go to My Dashboards > IP Addresses > DHCP & DNS Management.
- Select the DHCP scope tab and click Add. The Add DHCP Scope page is displayed.
-
Choose the DHCP server where you want to apply the scope. Click Next.
-
On the Define Scope tab, enter the scope name, description, VLAN ID (Optional), and Location (optional). Click Next.
-
On the IP address range tab:
-
Enter the subnet address.
-
Click Add Exclusion to add any applicable exclusions. Enter the starting and ending ip addresses, then click Save.
-
Adjust the CIDR if applicable.
-
Click Next.
-
-
On the Options tab click any applicable scope options. Click Next.
Note: Add, Remove, and Edit actions for scope options are not available yet in this UI version. Click the Legacy Wizard Link to open the Legacy Wizard and add Scope Options. -
On the Custom Properties tab, Click Manage custom properties to open Custom Properties. Click Next. See Custom Properties for information about custom properties.
-
Review your DHCP scope settings on the Summary tab. Click Add Scope.
Legacy Wizard
- Click My Dashboards > IP Addresses > DHCP & DNS Management.
- Select the DNS Server for which you want to create this scope.
- Enter a name for the scope, and any additional details if available, and click Next.
- Enter the start and end IP addresses for the scope, and click Next.
- Leave the DHCP Offer Delay as 0 ms and click Next.
The Offer Delay setting is used if you have more than one DHCP server for this scope, and want to specify the order in which servers respond to client requests. By setting the Primary DHCP to 0 milliseconds and the Secondary to 1000 milliseconds you will assure that the Primary DHCP server is used unless unavailable.
- Add any DHCP Option required, and click Next.
If you click Add New Option, the Choose DHCP Options window is displayed listing the options and giving a brief explanation of each.
For example, you may want to set a lease duration. This specifies how long an IP address is initially allocated to a client. For a stable environment where devices are not regularly added or replaced, this can safely be increased beyond the default of 8 days. For networks that include transitory wireless devices such as laptops, you might want set this to an hour.
- Click Create Scope.