Search assets
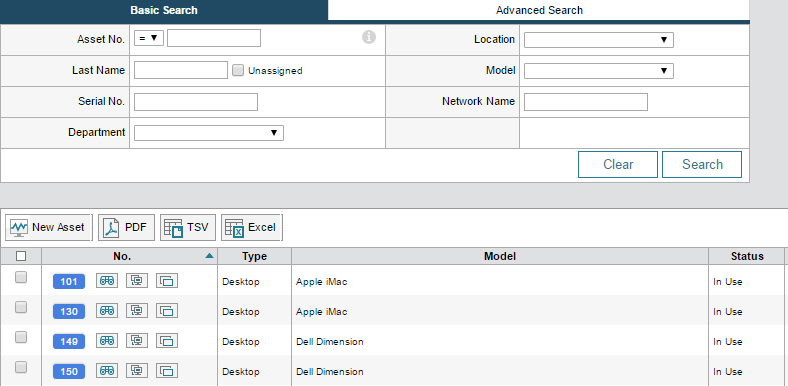
You can search for assets in the Basic or Advanced tabs. Basic searching provides a simplified subset of the search criteria available in the advanced search mode.
To sort your search results, click the appropriate column header. To download the search results in PDF, TSV, or Excel format, click the appropriate icon.
Refine your search results
Your search results can include a large amount of asset data. To reduce your search results, use the Column Set drop-down menu and select a column format. Click [+] to add a new column set, or edit the selected column set by clicking the pencil icon.
Save a query
- Define your search criteria using the same method explained in Search tickets.
- Click the Advanced Search tab.
- In the Save Query as field, enter an appropriate name.
-
Select the Shared check box to allow other techs to use this search.
Depending on your access level, you may not have access to the Shared box.
- Click Save.
Run a query
Select the query name from the Query menu at the top of the search results display. When selected, the query runs automatically.
Export a report
After you save a query, you can export all queried asset data to a Microsoft Excel spreadsheet.
Your connections may timeout if you export large quantities of assets (for example, 30,000 assets). To minimize timeouts, export the assets in batches.
- In the toolbar, click Assets.
- In the Assets screen perform a basic or advanced search for your targeted assets.
-
Click the checkbox in the top left column to select all assets.

-
In the toolbar, click Excel.
The file is saved to our Downloads directory.
- In the pop-up window, click the Excel spreadsheet to view the report.
Address improper formatting
If you open the downloaded Excel spreadsheet and the data does not display in the correct format, do the following:
-
Click the Data tab and select From Text/CSV.
-
Choose the location of the data.
-
Verify that the details are correct.
-
Click the drop-down menu at the bottom of the window and select Load.
The data is now formatted correctly.