Reserve assets
To ensure that your assets are available when needed, use the Asset reservation feature.
-
In the toolbar, click Assets and select Search Assets.

- Use the Basic and Advanced search tabs to locate and select the Asset you want to reserve.
-
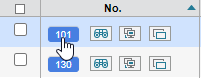
In the No column, click the asset you want to reserve. For example, 101.
- Click the Edit
 icon at the top of the window.
 - Edit the asset properties as needed.
-
When you are finished, select the Reservable check box.

- Click Save.
Set up asset reservations as a tech
-
In the toolbar, click Assets and select Reservations.

-
Click New Reservation.
-
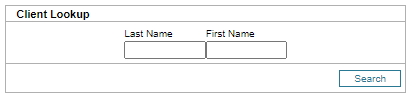
In the Client Lookup box, select the client who will check out the Asset.
-
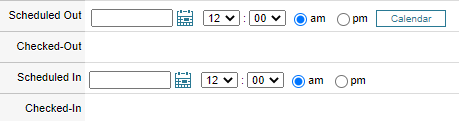
Set the Scheduled Out and Scheduled In dates and times.
-
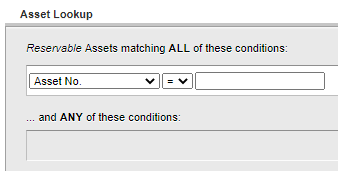
Under Asset Lookup, locate the asset you want to reserve. Only assets marked as Reservable can be searched here.
- Click the asset you want to reserve.
- Click Save.
Set up asset reservations as a client
An administrator must provide clients permission to reserve an asset before clients can use the reserve asset feature.
- In the toolbar, click Setup and select Assets > Options.
-
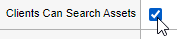
In the Asset Options screen, select Clients Can Search Assets. This option indicates that the Assets tab displays in the Client interface.
You can override this setting at each location. This only applies to clients who have no location assignment.
-
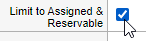
(Optional) Select Limit to Assigned and Reservable. When the Clients Can Search Assets checkbox is selected, you can limit the assets that are visible to the client to assets marked as Reservable and those that are specifically assigned to the client.
- Click Save.
Reserve an asset as a client
-
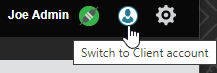
Switch to the client account.
- In the client interface, click Assets.
- Click Search.
- Locate your asset.
- Select the Reserve check box.
-
Click Reserve Checked.
A calendar window appears, allowing you to select a reservation date or range of dates.
To select a reservation date range, click the first day of the reservation, drag the cursor to the last day of the reservation, and then click Save.
To remove a reservation, click the trash can on the reservations page.
Check an asset out
Only Techs can check reserved assets out.
- Make sure you are logged in the Tech account.
-
In the toolbar, click Assets and select Reservations.
- In the Search screen, complete the fields as required.
- Click Search to locate your reserved assets.
-
In the No. column, click the retrieved asset. For example, 8.

-
Under Reservation Details, enter the current date and time to check out the asset. Also, delete the date in the Checked-In field.
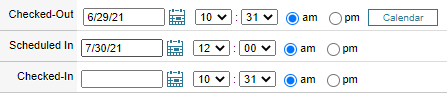
- Modify the Scheduled In date and time to indicate when you plan to check in the asset.
-
Click Save.
A message displays that provides you with the reservation status. The following message displays when you check out an asset.

Check an asset in
Only Techs can check reserved assets in.
- Make sure you are in the Tech account.
-
In the toolbar, click Assets and select Reservations.
- In the Search screen, complete the fields as required.
- Click Search to locate your reserved assets.
-
In the No. column, click the retrieved asset. For example, 8.
-
Under Reservation Details, click Check In.
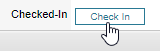
The Checked-In date and time display.

-
Click Save.
A message displays that provides you with the reservation status.