Upgrade to SEM 6.4 or later across a network share
Beginning in SEM 6.3.1 Hotfix 5, you can upgrade to SEM 6.4 or later to the latest version using the SEM Upgrade ISO installer and the Security Event Manager - Recovery Boot CD located on the SolarWinds Customer Portal.
The Security Event Manager - Recovery Boot CD installer provides the necessary files to support older versions in the upgrade path. If you are running an End of Life or End of Engineering version, run the CD where indicated between each version in the upgrade path.
The SEM Upgrade ISO installer upgrades your deployment with a version you select and download in the Customer Portal. Based on the upgrade path, you will download several versions of the SEM Upgrade ISO.
- Back up your SEM deployment.
- Prepare the upgrade media.
- Complete step 1 through step 4 in Upgrade to SEM 6.4 or later using an ISO.
- Place the ISO installers on the network share drive.
The upgrade network path should look similar to:
\\<server- IP>\<SEM>
- Connect to the SEM virtual appliance using the vSphere or Hyper-V Manager virtual console or an SSH client (such as PuTTY).
Use port 22 when using an SSH client.
-
Log in with your CMC user credentials.
During the upgrade process, the upgrade script disconnects the SEM virtual appliance from all SEM agents and consoles.
- Access the CMC prompt.
- In vSphere, arrow down to Advanced Configuration, and then press Enter.
- In PuTTY, log in using your CMC credentials.
- At the CMC > prompt, enter:
upgrade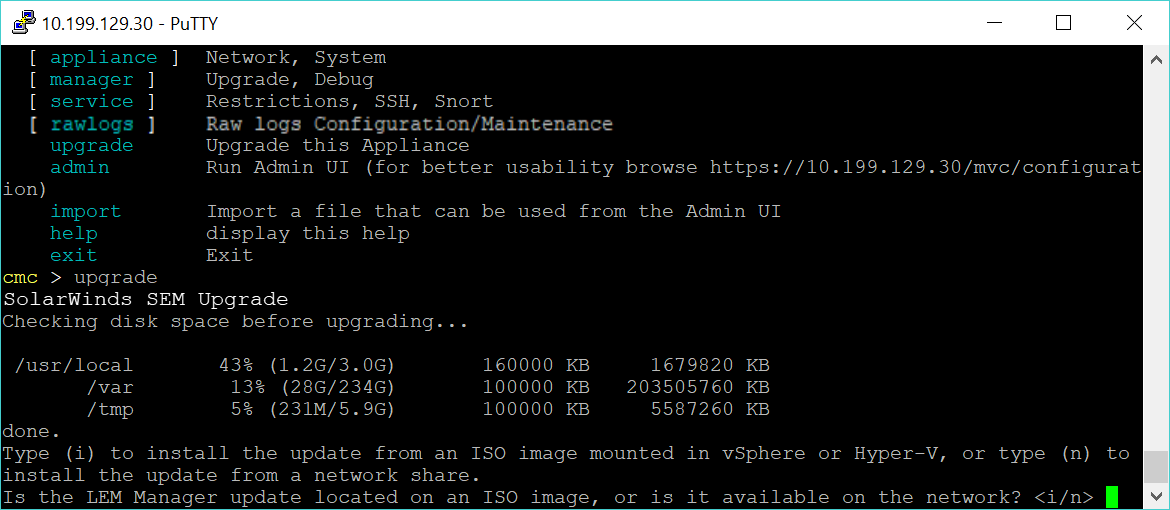
-
Upload the ISO images in the listed order for your upgrade path.
During the procedure, you will upload the Security Event Manager - Recovery Boot CD installer twice. This procedure provides the needed files to support the next ISO installer in your upgrade path.- Enter n for network, and then follow the prompts to complete the installation.
- Reboot the SEM appliance.
- Repeat step 3 through step 8b for each additional ISO file in the upgrade path.
-
Unmount the images from your hypervisor.
See Mount the ISO image for instructions.