Configure the Email Active Response connector
Configure the Email Active Response connector in SEM to send automated emails to console users when a rule is triggered. This connector specifies the SMTP Relay mail host used to send emails and provides the requisite server credentials.
If you used the SEM Setup Wizard during the installation procedure to set up your SEM environment, the Email Active Response connector is already configured.
Requirements
- An email server that allows SEM to relay email messages through it
- IP address or hostname of your email server
- A return email address for bounced messages and replies
- User credentials for your email server, only if your email server requires internal users to authenticate to send email
To configure SEM to use Office 365 as a mail host, see Configure SEM to send email via Office 365 in the SolarWinds Success Center.
Configure the Email Active Response connector
- Log in to the SEM Console as an administrator.
- On the toolbar, click Configure > Manager connectors.
-
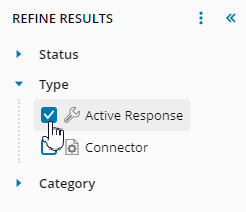
In the Refine Results column, maximize Type and select Connector to refine the connector list to active response connectors.
-
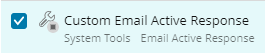
Select an active response connector in the list. For example:
 Click
Click to view a description of the connector.
 -
Click Stop.

The green indicator next to the connector name disappears, indicating that the connector is stopped.

-
Reselect the targeted connector, and then click Edit in the toolbar.

-
Edit the node connector profile as required.
-
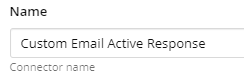
In the Name field, enter a new name or keep the existing name.
-
In the Mail Host field, verify that the IP address or hostname is correct.
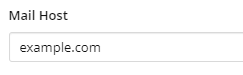
If you use a hostname (as shown above), SEM Manager must be able to resolve the mail host from the DNS entries you entered when you configured your SEM network.
-
In the Transport Protocol field, verify that the selected protocol is correct. To update, click the drop-down arrow and select SMTP, SSL, or TLS.
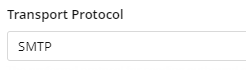
In this example, SMTP is selected as the transport protocol.
TLS 1.2 is supported for email connections in SEM 2020.2.1 and later.
-
Verify that the port value is correct.
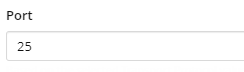
Based on the value you selected in the Transport Protocol field, this field defaults to one of the following ports:
-
25 (Standard, non-encrypted SMTP)
-
465 (SSL with encryption)
-
587 (TLS with encryption)
-
-
In the Return Address field, verify that the return address is correct. Edit if required. For example:
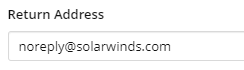 This field is pre-populated with noreply@solarwinds.com. Be sure to change this email address to an address associated with your organization.
 -
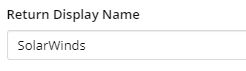
In the Return Display Name field, verify that the return display name is correct. Edit if required. For example:
-
(Optional) If the email server requires an Active Directory user to send email, enter the authentication server user name in the Authentication Server Username field.
-
(Optional) If the email server requires an Active Directory user to send email, ensure that an authentication server password exists in the Authentication Server Password field.
 If you are retesting the email configuration, re-enter the password.
 -
(Optional) In the Test E-mail Address field, verify that the e-mail address is correct. This address is used to verify that an e-mail can be sent to a user when generated by an active response connector. For example:
 If the email server requires an email to be sent from a computer within the domain, the email server must have an exception created for the SEM hostname. SEM cannot join the domain.
 -
(Optional) Click Test Email to test.
If the test message was sent successfully through the SMTP server, the following message displays in the console:

If the test message was not sent successfully through the SMTP server, a message displays in the console. For example:

The Error test message provides details about the failure and provides suggestions to troubleshoot the failure.
The response message may require up to 30 seconds to display in the console. If you do not receive a response, the e-mail address in the Test E-mail Address field may be incorrect or SEM cannot reach the SMTP server through your network. -
(Optional) Verify that the user who owns the test e-mail address received the test email.
-
Click Save.
Your changes are saved to the connector profile.
-
-
Make sure the connector checkbox is selected.
-
Click Start.

The green indicator next to the connector name displays, indicating that the connector is started and running.
Test the Email Active Response connector
Send a test email to verify that the connector is working properly.
If you receive an email, the connector is working properly. If you do not receive an email, the SEM Internal Events filter provides the following information:
- Event Name: InternalInfo
- Event Info: Email notification failed
- Extraneous Info: Information about the failure. For example, server not reachable, authentication issue, and so on.
Modify the connector configuration as required and then resend a test email.