Create a new connector profile
Create a new connector profile without preconfigured connectors or agents.
- On the SEM Console, navigate to Configure > Connector Profiles.

- On the Connector Profile toolbar, click Create Connector Profile, select New profile, and then click Continue.

- Enter a name for the profile and a description (optional), and then click Create and Next.

- Under Configured connectors, click Add connector.
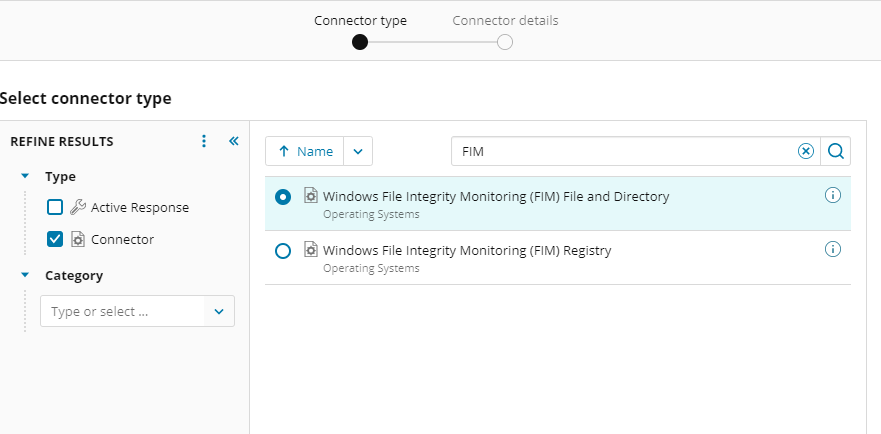
- Under Refine Results, expand the Type group, and then select Connector or Active Response (or both).
- Find the connector to configure. Type part of the connector name in the search box, or use the filter menus in the Refine Results pane.
- Complete the connector configuration form. The following fields are common across most connectors:
- Name: Enter a user-friendly label for your connectors.
- Log File: Enter the location of the log file that the connector will normalize. This is a location on either the local computer (Agents), or the SEM appliance (non-Agent devices).
- Output: Normalized, Raw + Normalized, Raw. You only need to configure these values if SEM is configured to save raw (unnormalized) log messages.
- Click Add.
- Add additional connectors to the profile as required, and then click Next.
- Click Assign agents.
- Filter and select one or more agents to add to the profile, and then click Assign.
An agent can only be a member of one connector profile. Learn more about connector profiles here.
- To complete the connector profile configuration, click Finish.